
Oo
Letter O — Preschool (Free Worksheets)
Everything your child needs for the letter A in one place — watch, identify, sound it out, trace, write, and check what they’ve learned. No other page needed.
How to use this page
Work through the steps in order — watch, identify, hear the sound, colour, trace, write, then check. Most children finish in 10–15 minutes; some steps can be split across two days.
1 Watch
Watch — Letter O Sound & Shape
Start by watching a short video together. Seeing and hearing the letter O modelled first gives your child a reference point before any activity begins.
2 Colour
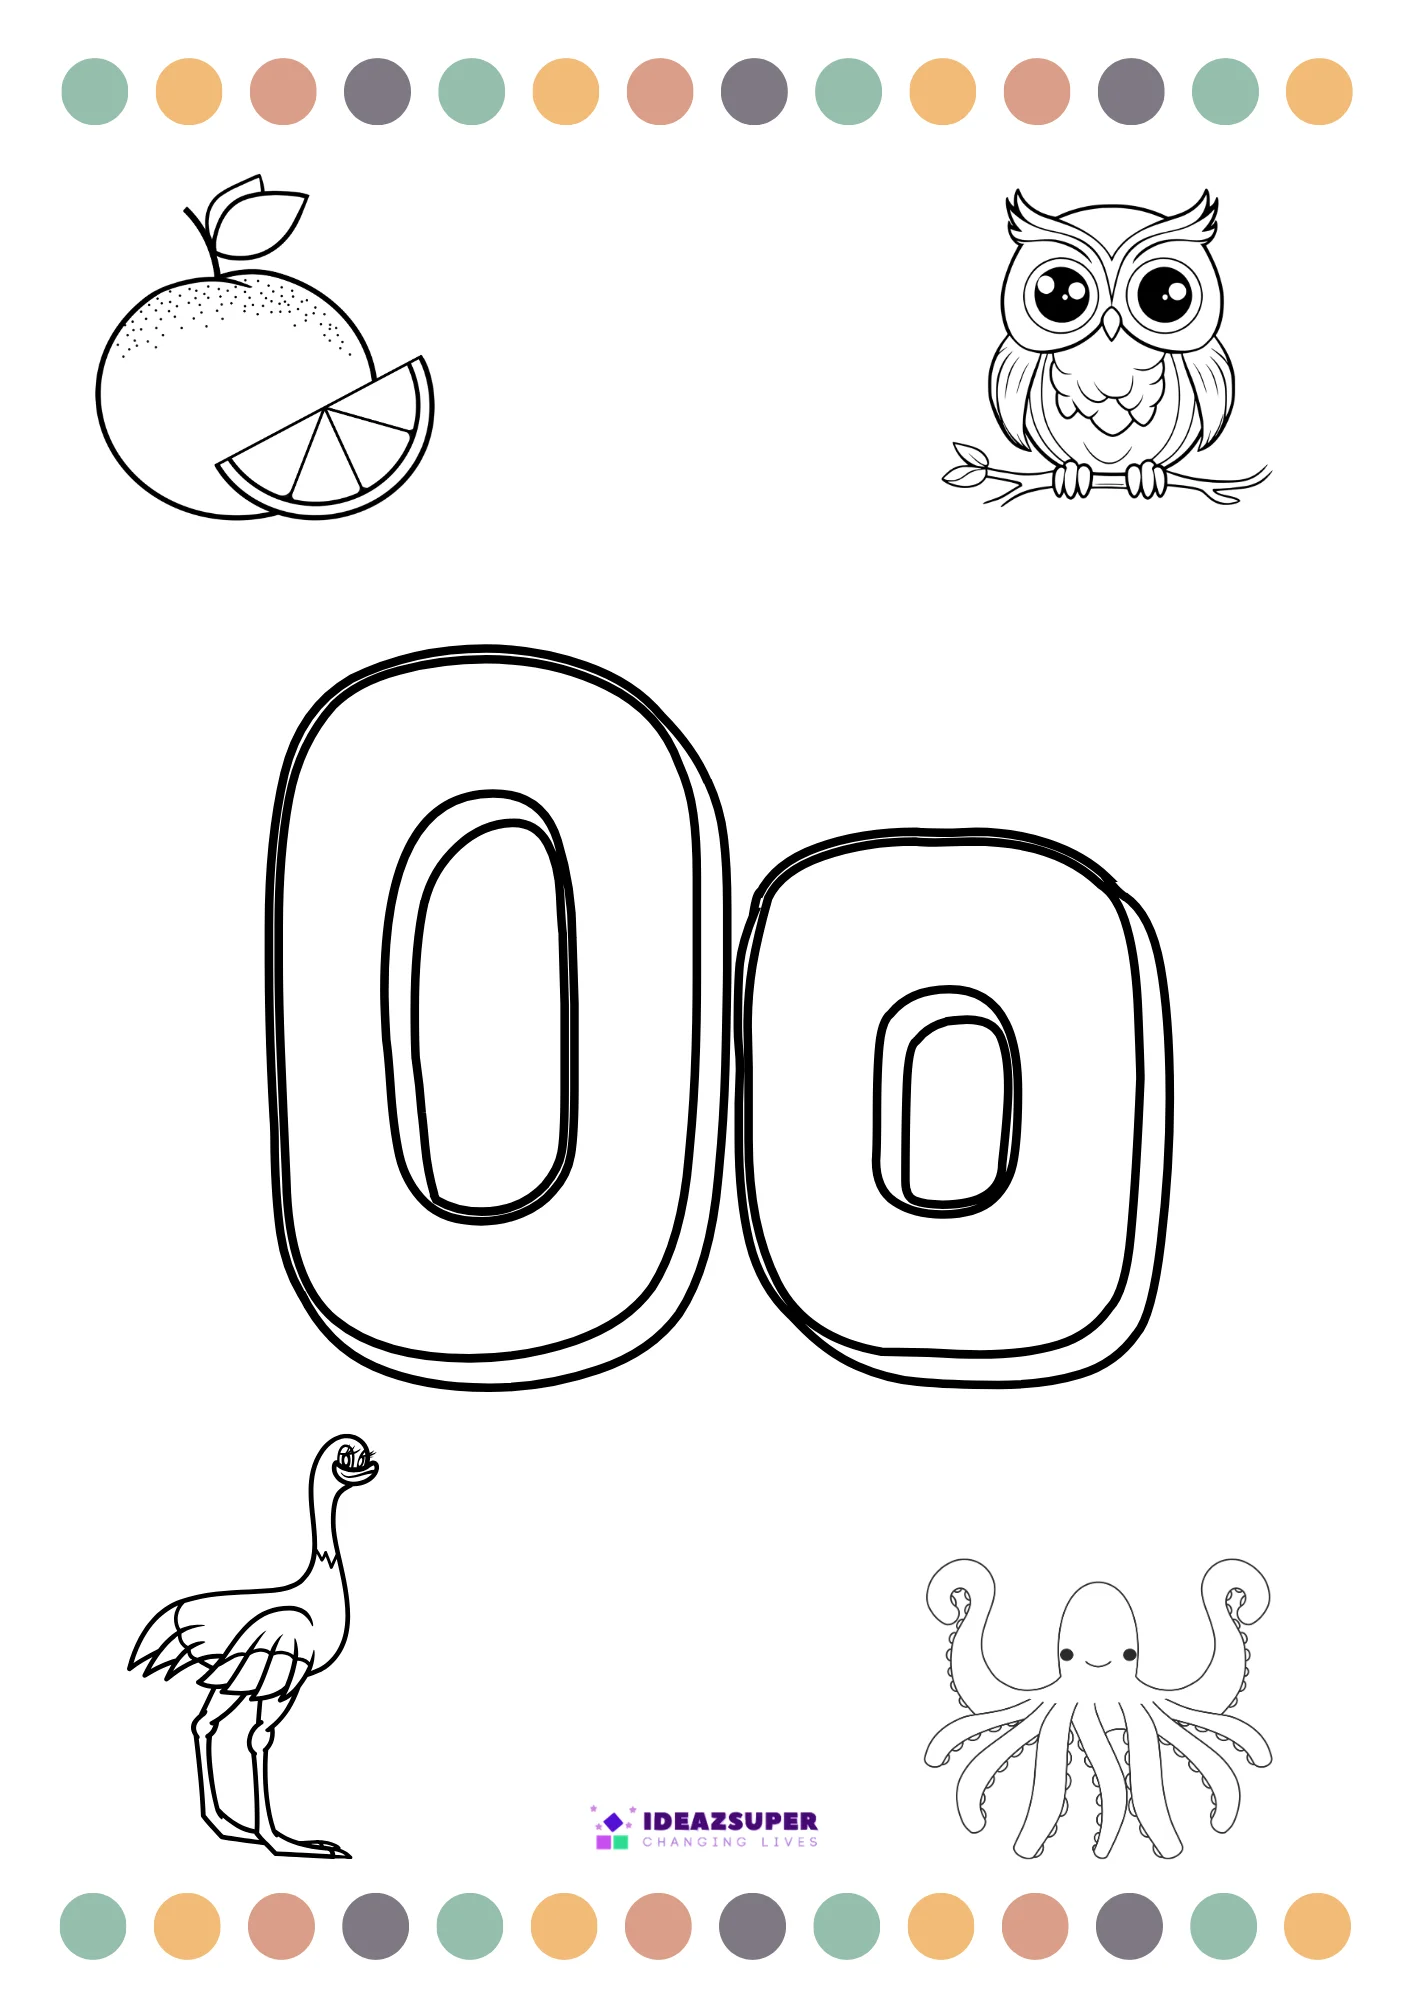
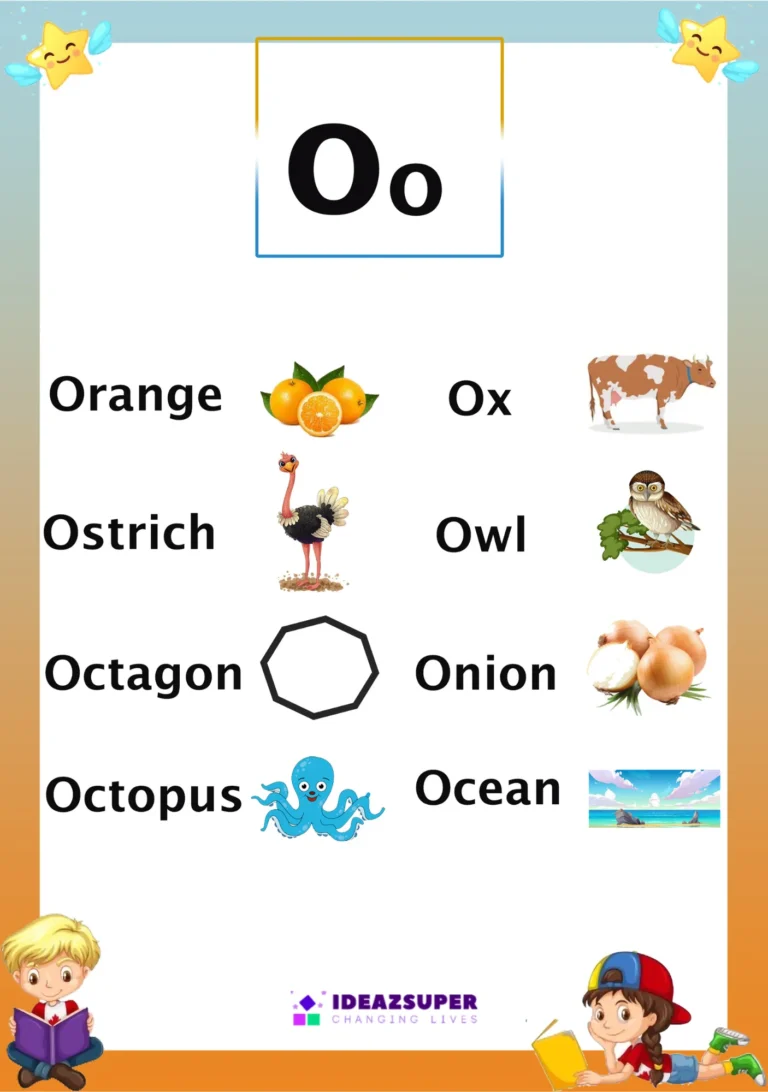
Colouring the letter O helps your child spend more relaxed, hands-on time with its shape while building fine motor control with a crayon or pencil. This page pairs the big O/o with four pictures that all start with the letter — orange, owl, ostrich, and octopus — so your child sees the same sound repeated across different objects while they colour.
3 Identify
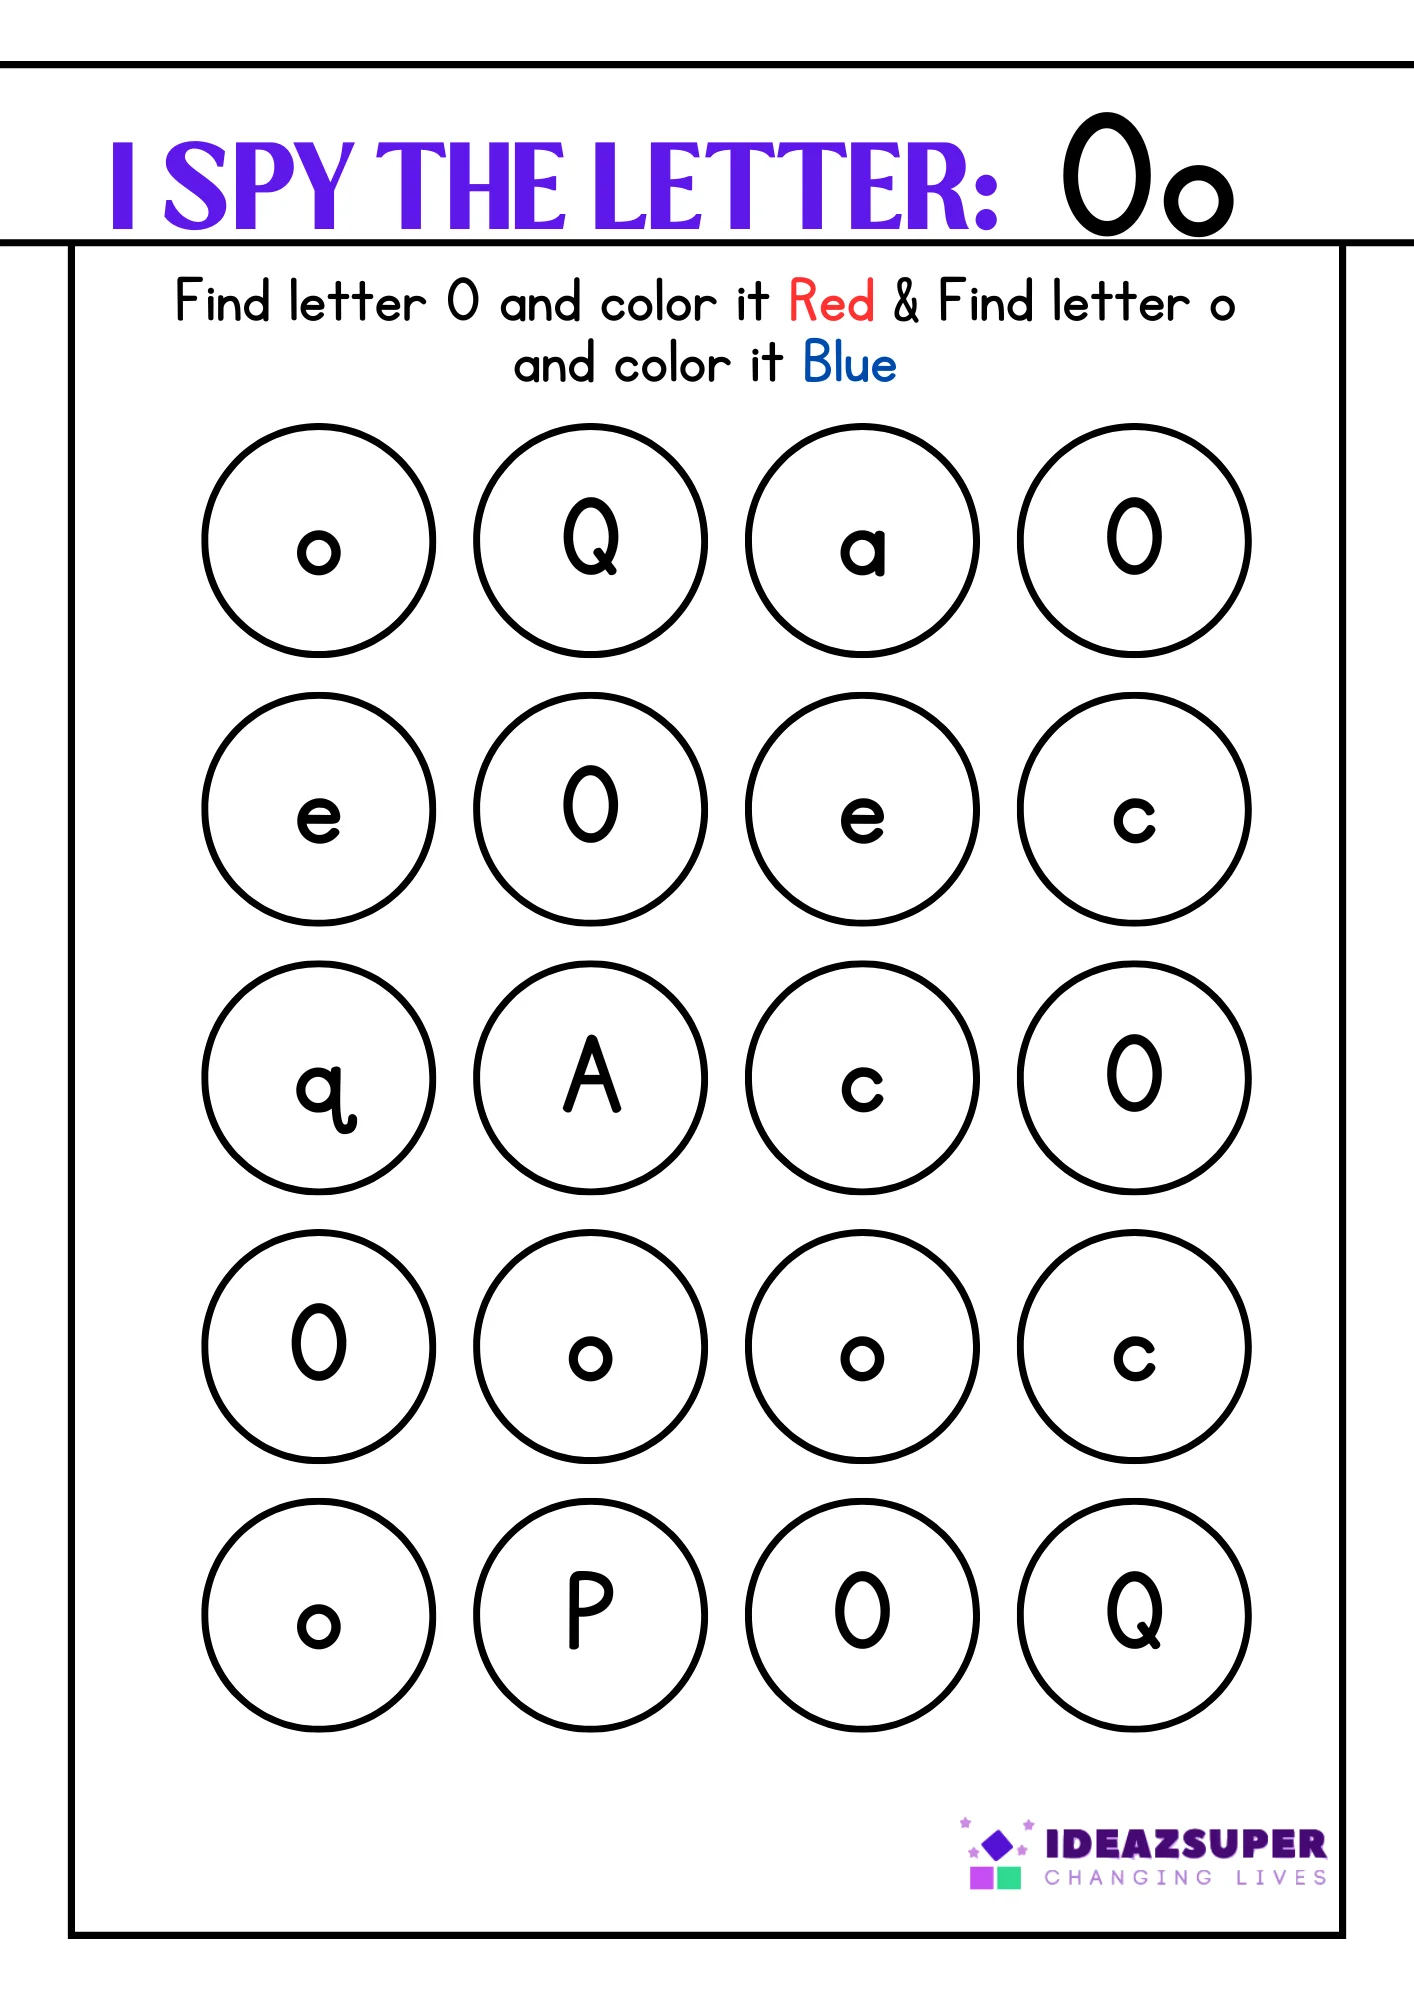
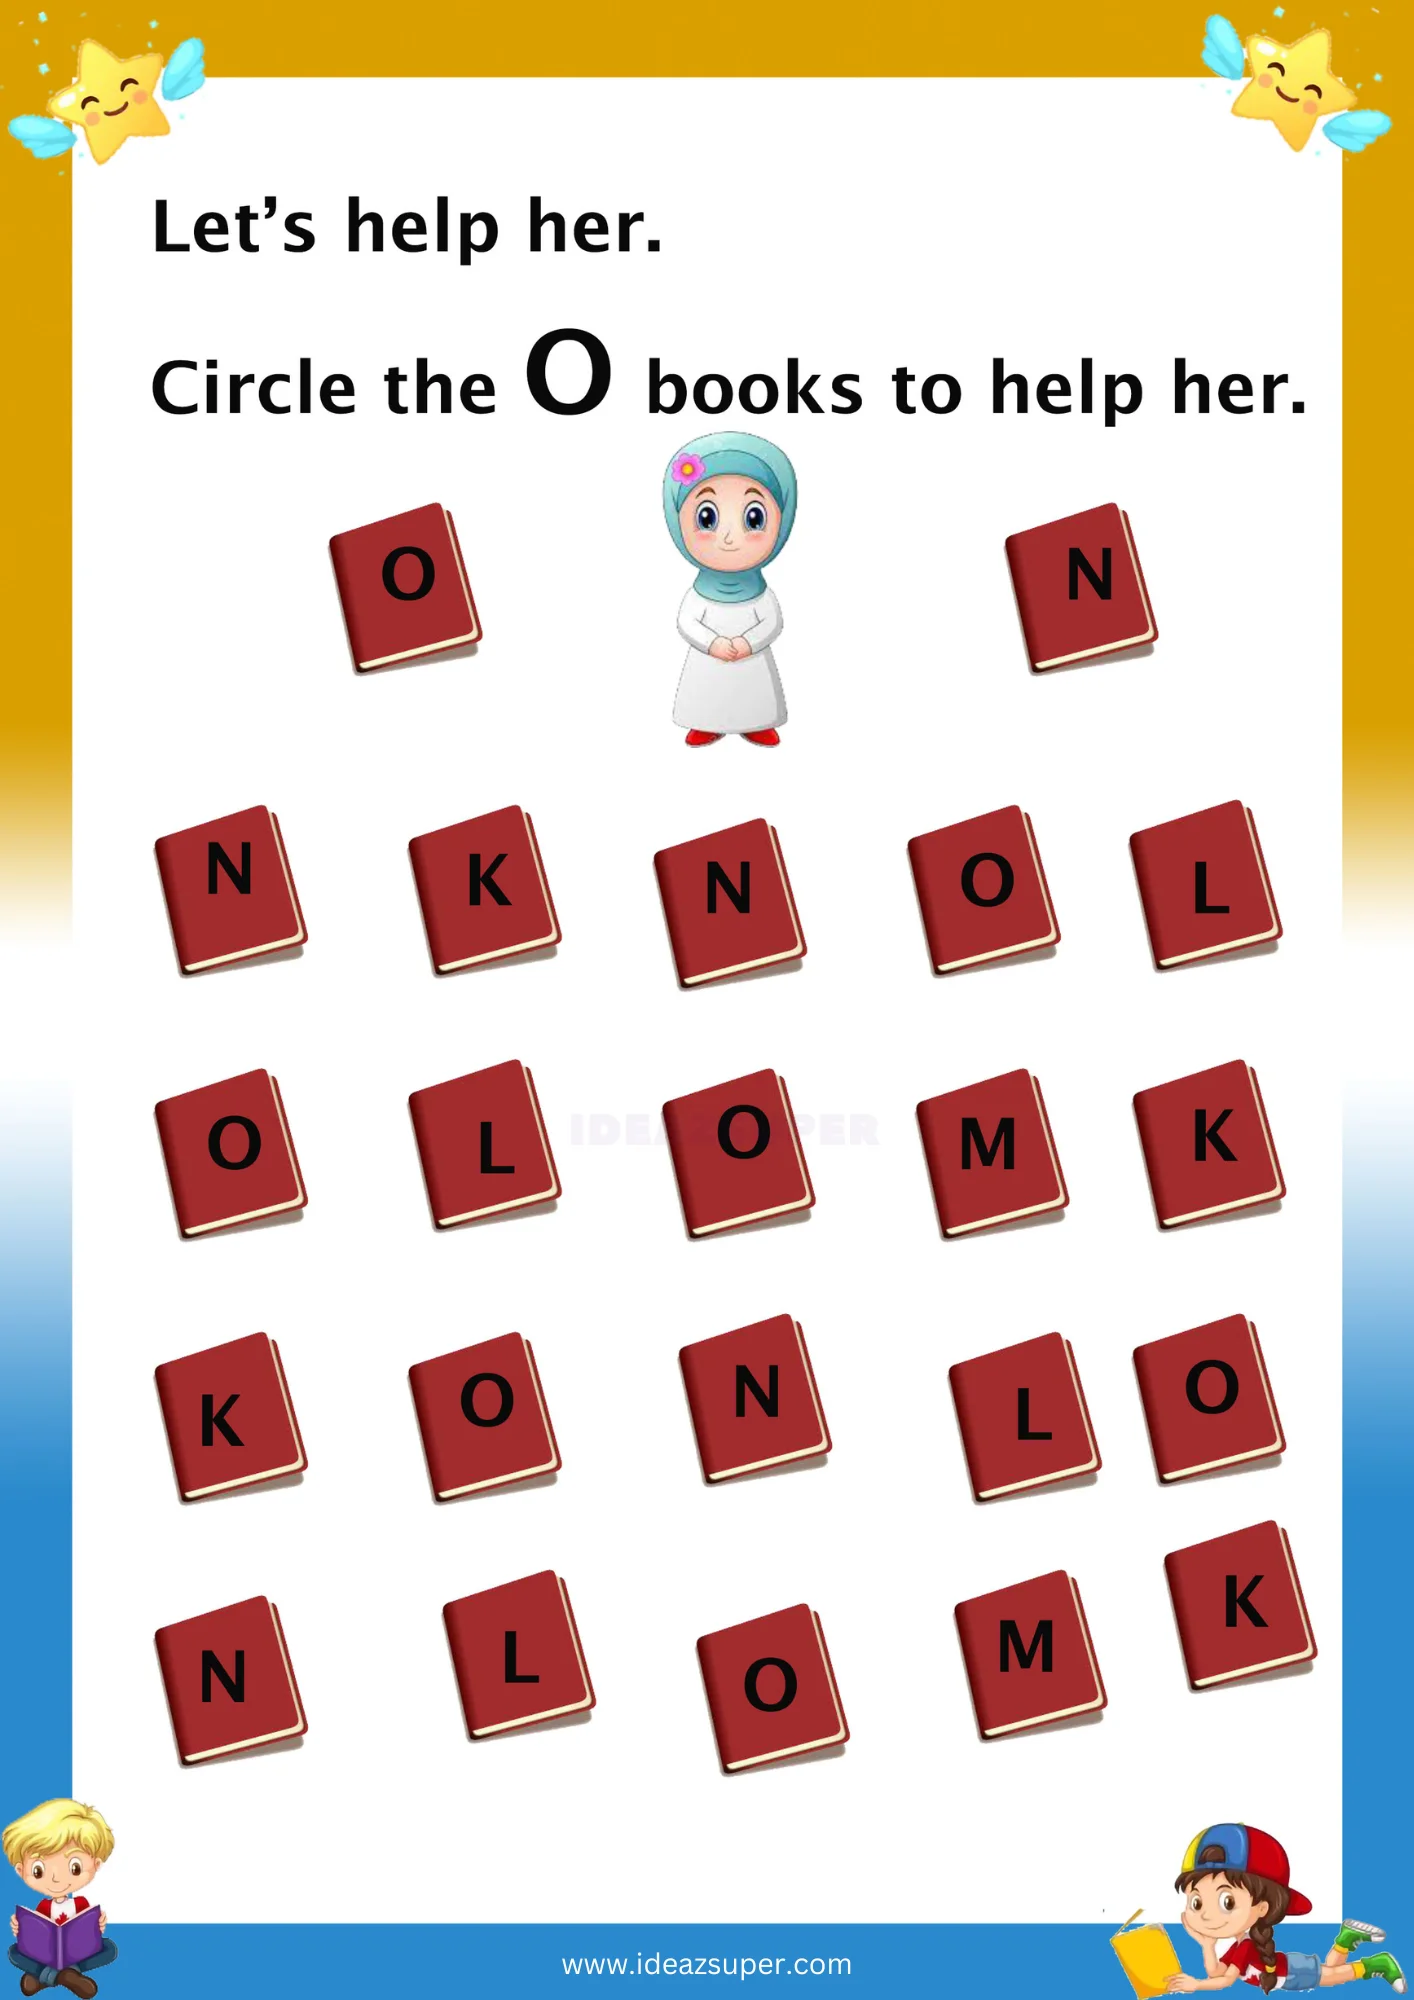
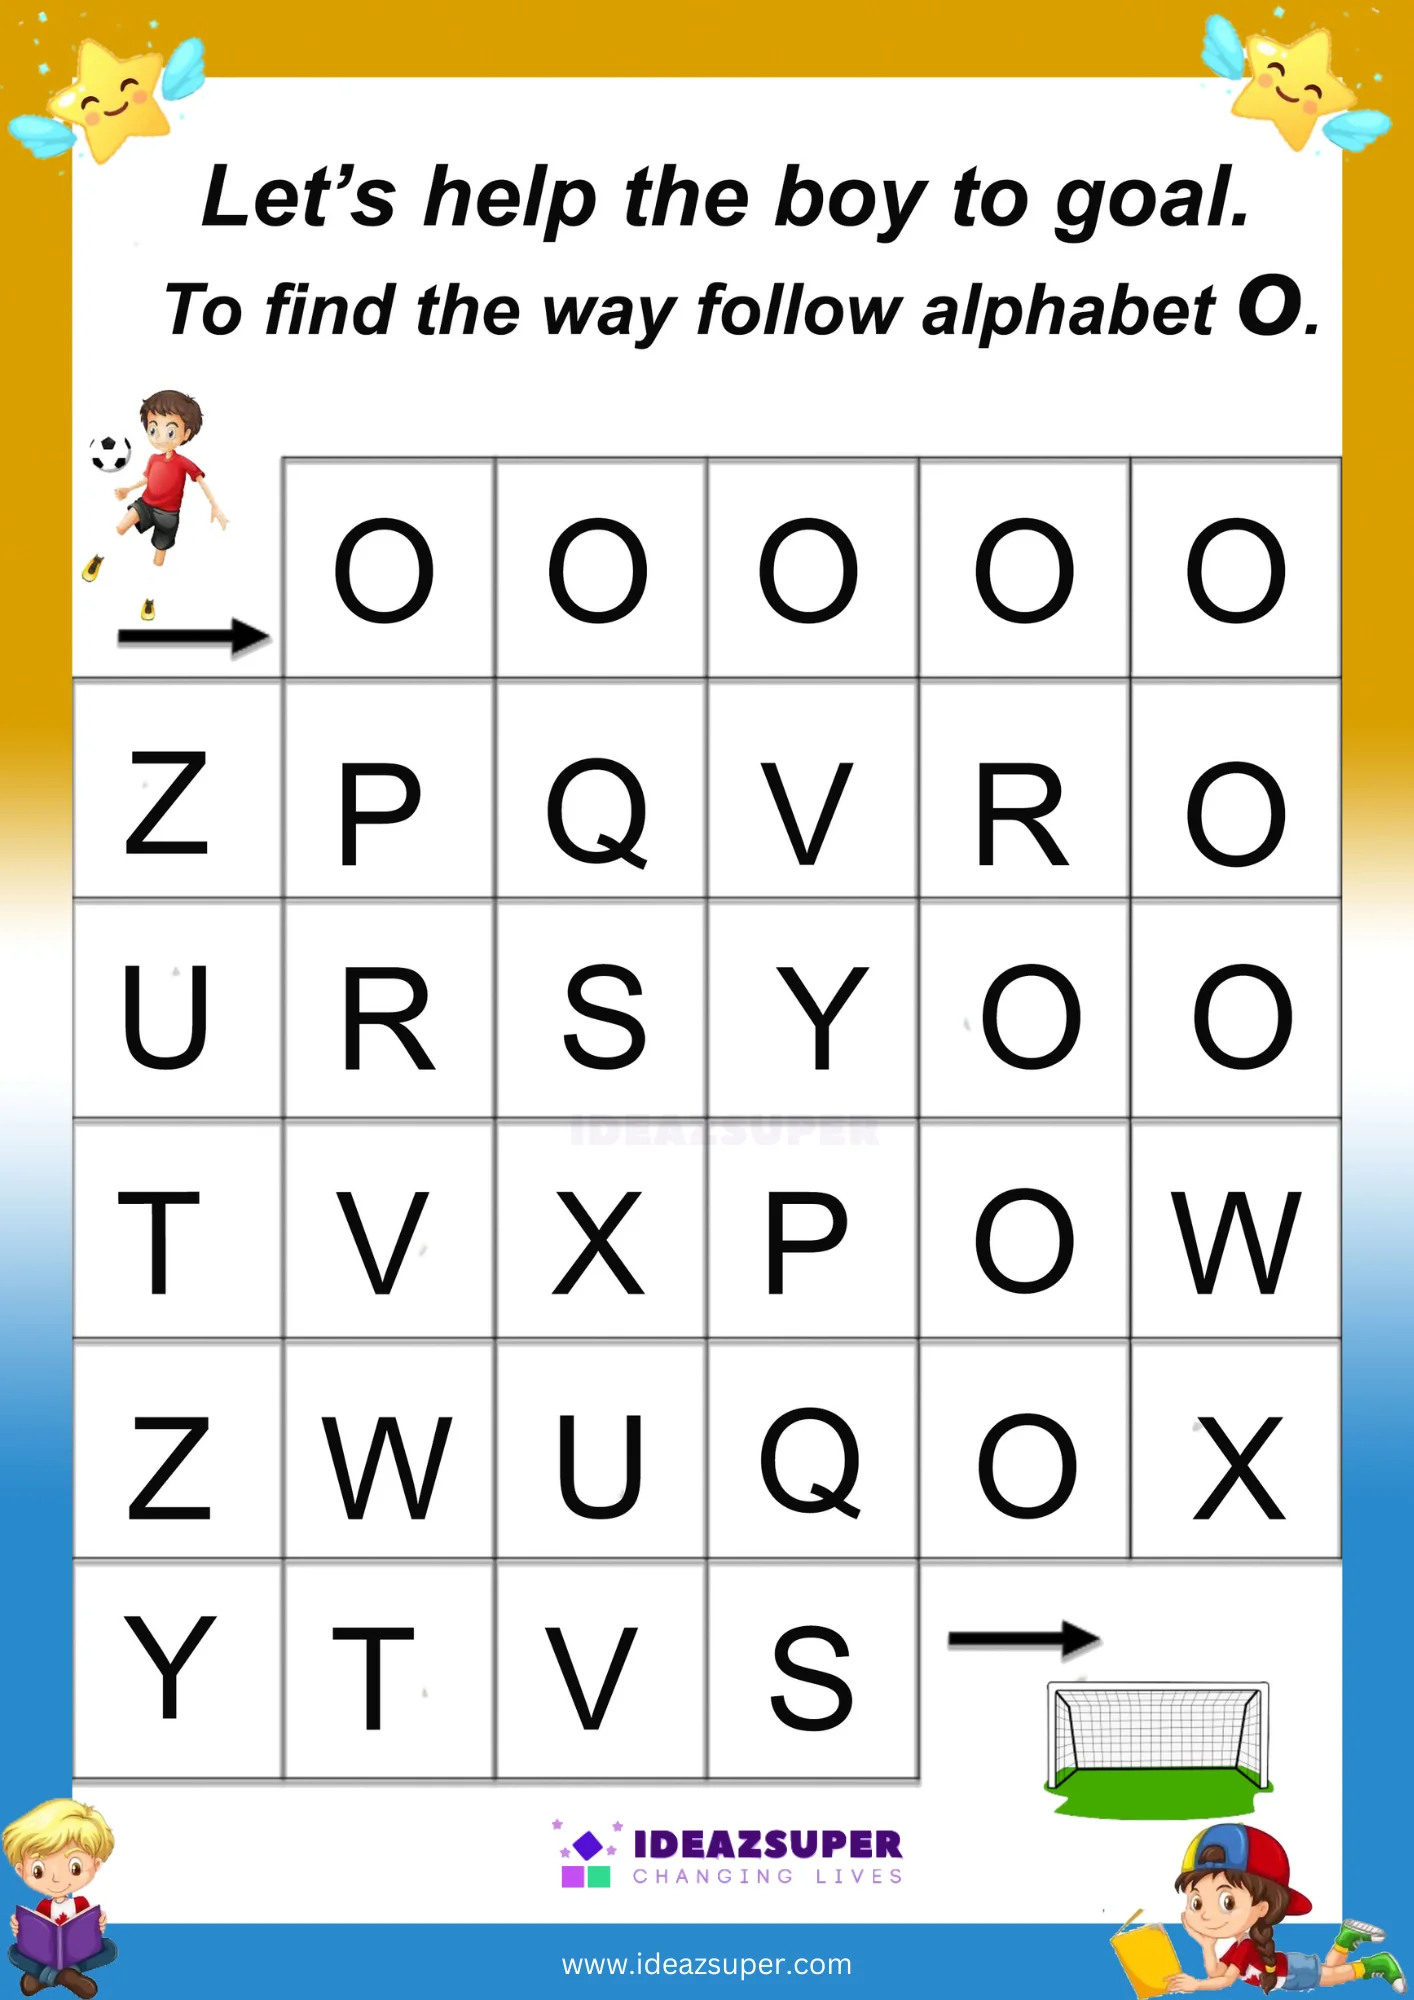
Before your child writes the letter O, they need to be able to spot it confidently among other letters — both the capital O and the lowercase o. These activities ask your child to circle, find, or match the correct letter among similar-looking ones.
For more practice, try our free alphabet identification worksheets.
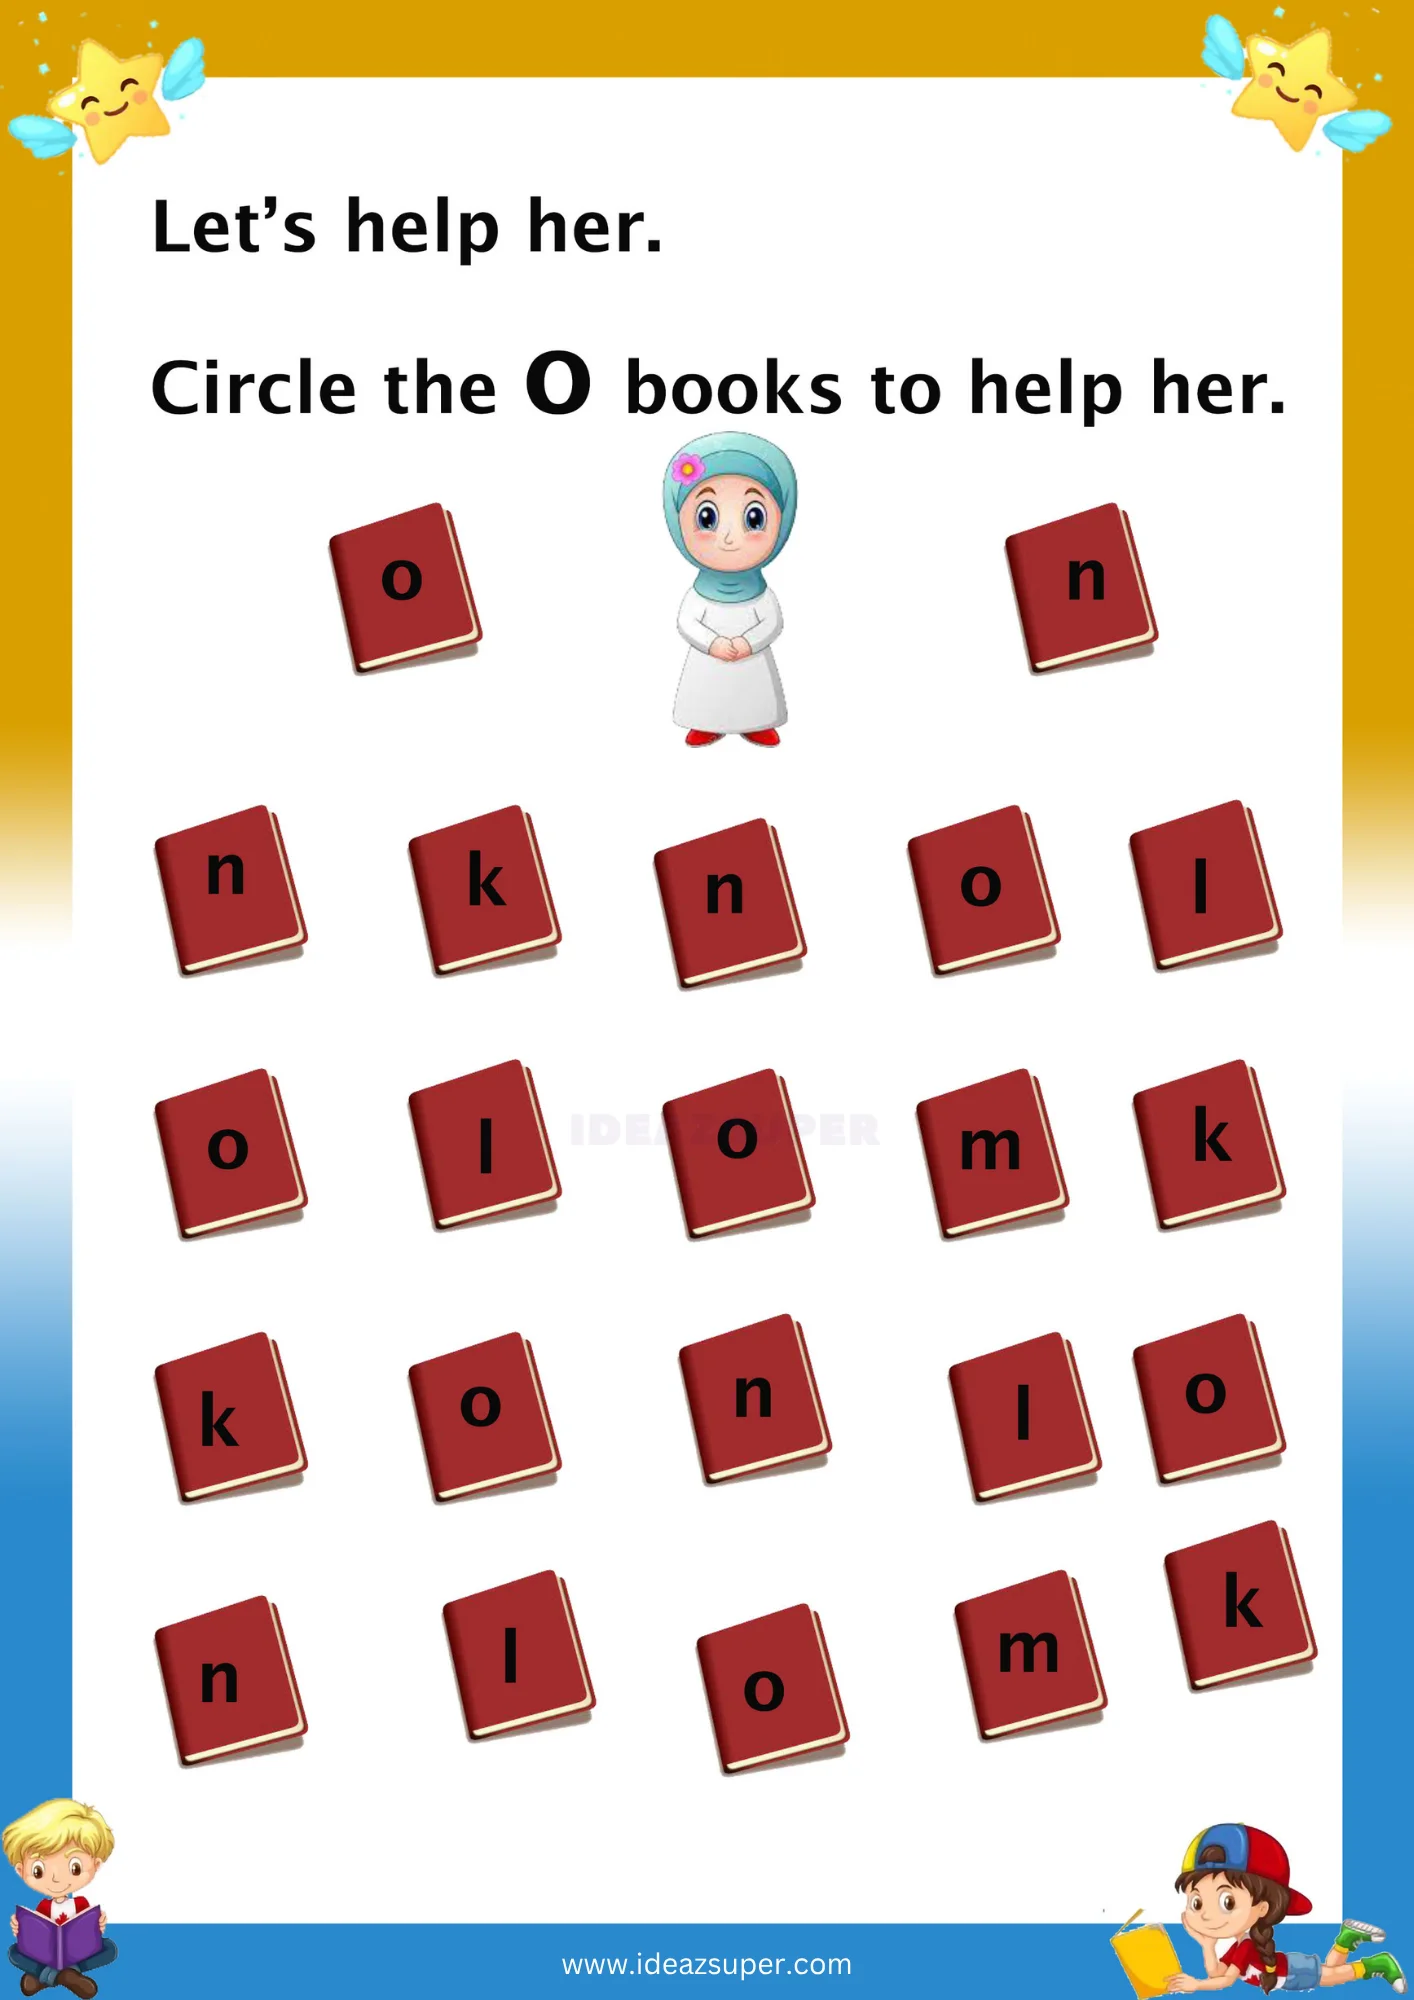
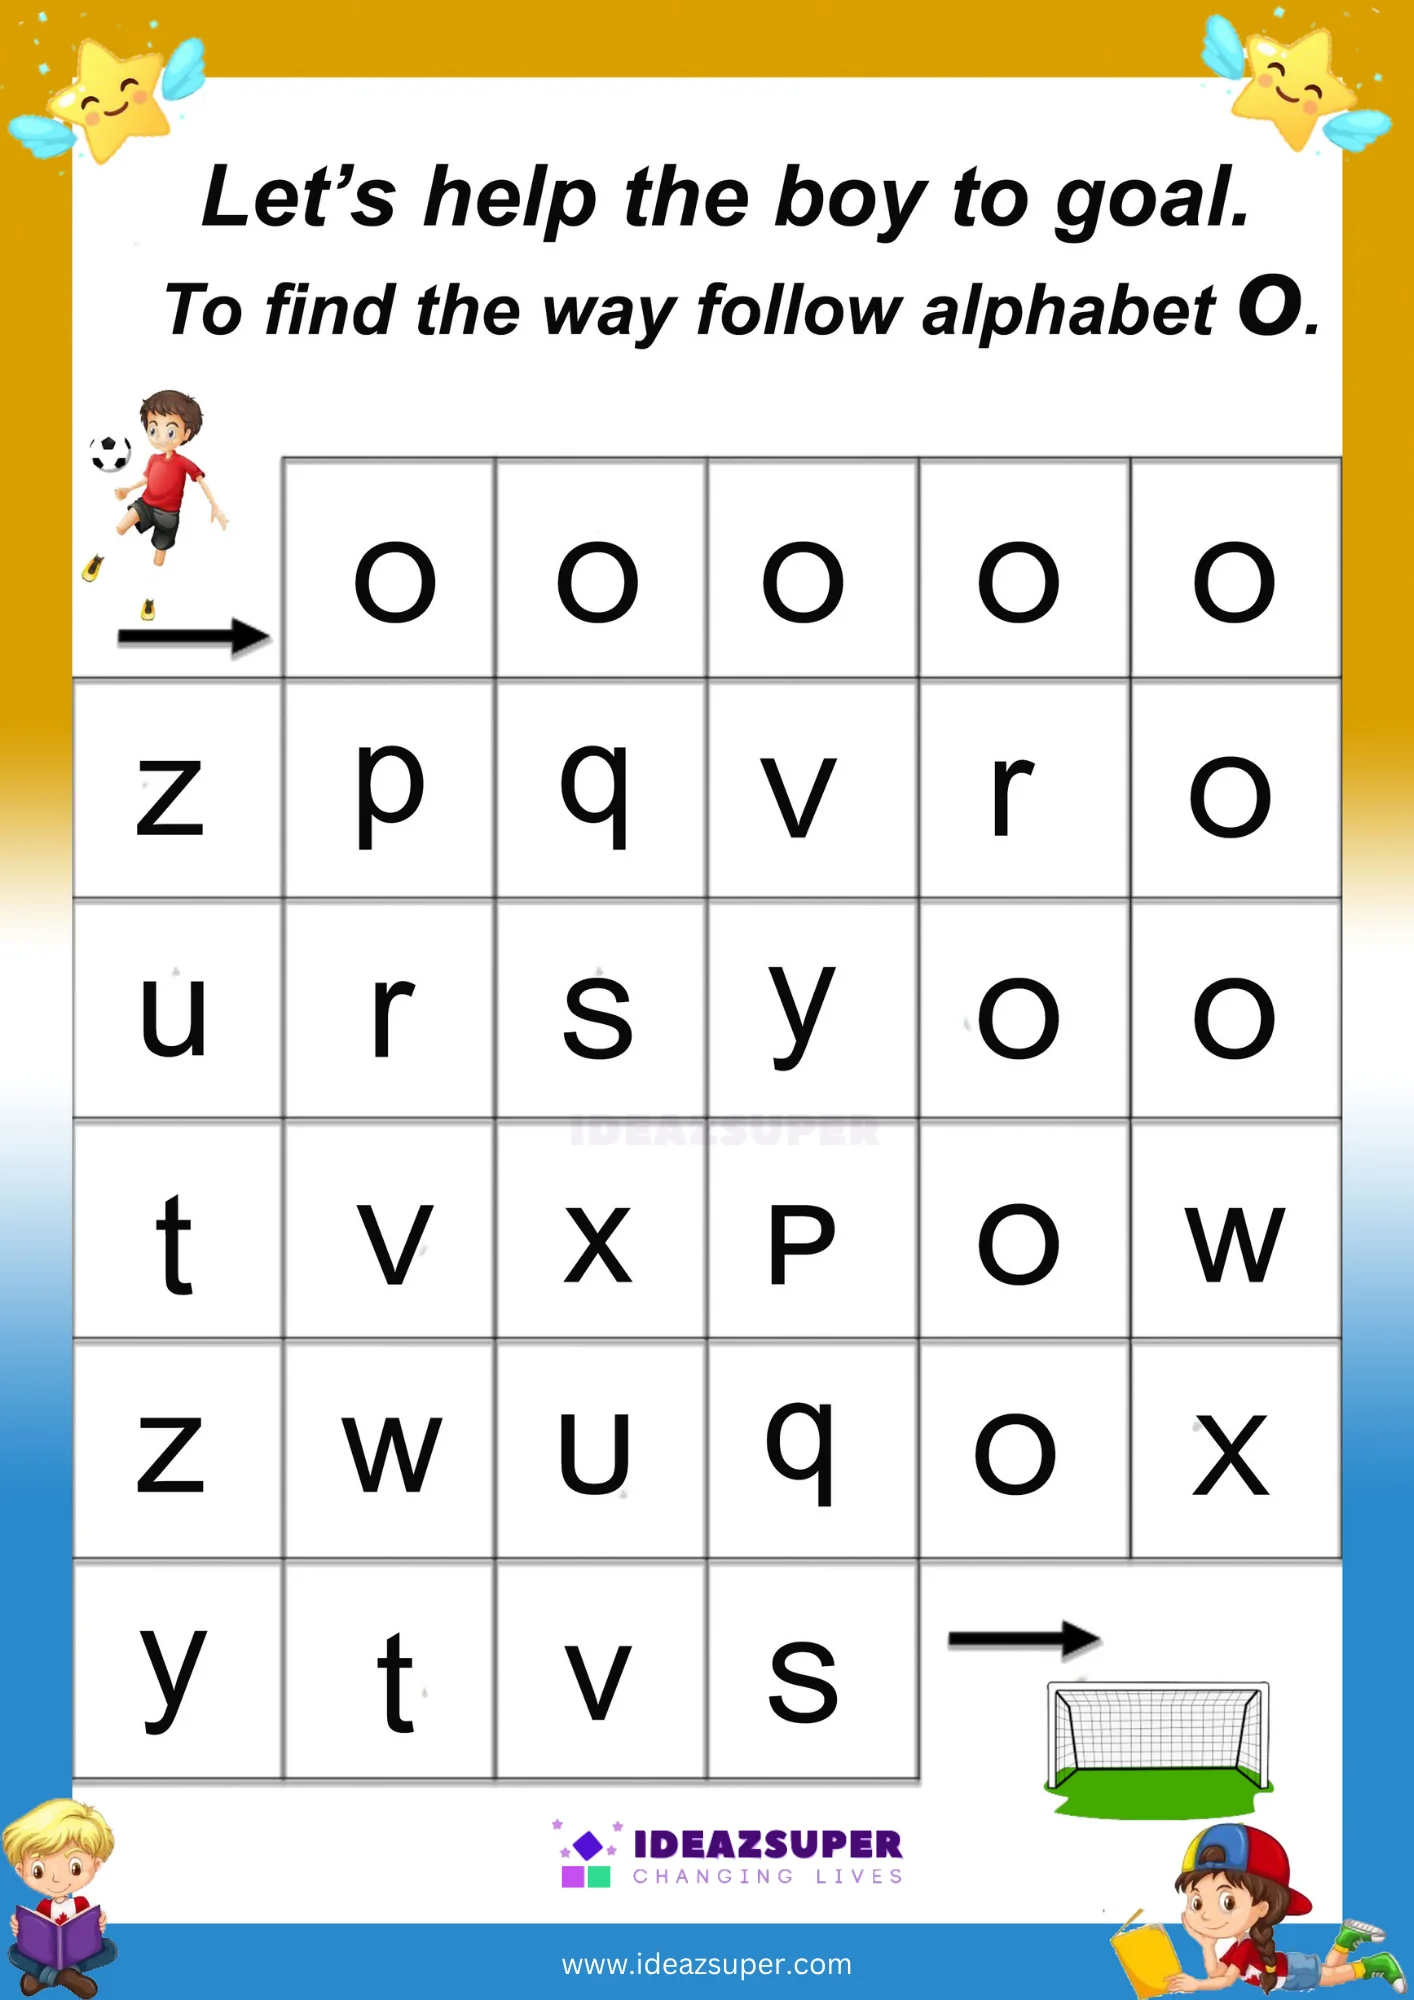
💡 Say it out loud
While your child works through the sheet, say: “O — orange, owl, octopus.” Verbal repetition alongside the worksheet helps reinforce the letter sound and makes learning more effective than using the worksheet alone.
4 Connect
O says /o/
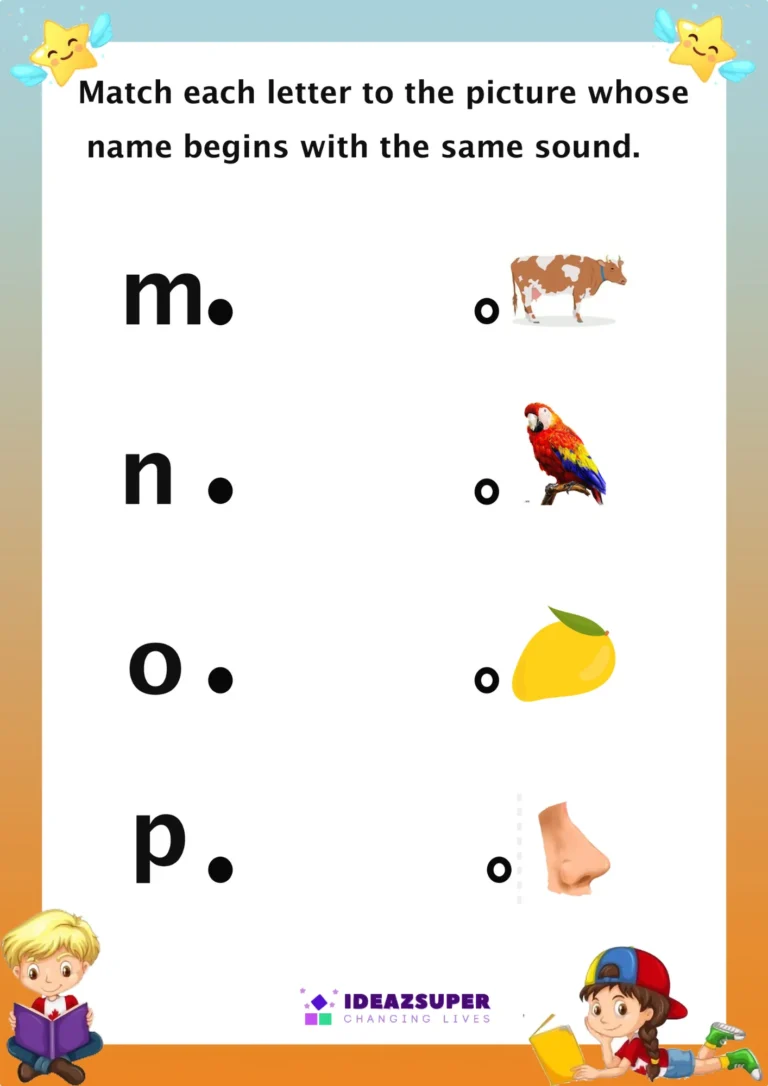
Letter O is only useful once your child knows what it sounds like. These activities connect the shape of the letter to its beginning sound using pictures your child already recognises — like orange.
For more sound practice, see our phonics and beginning sounds worksheets.
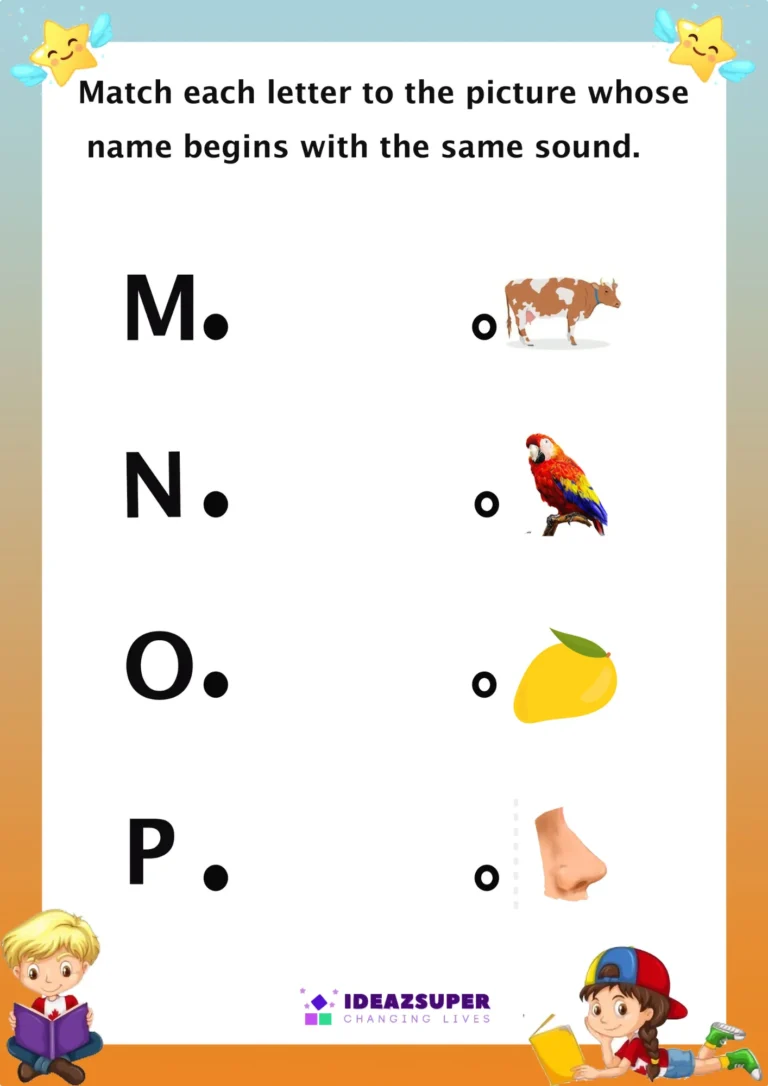
5 Trace
Learn the Correct Stroke
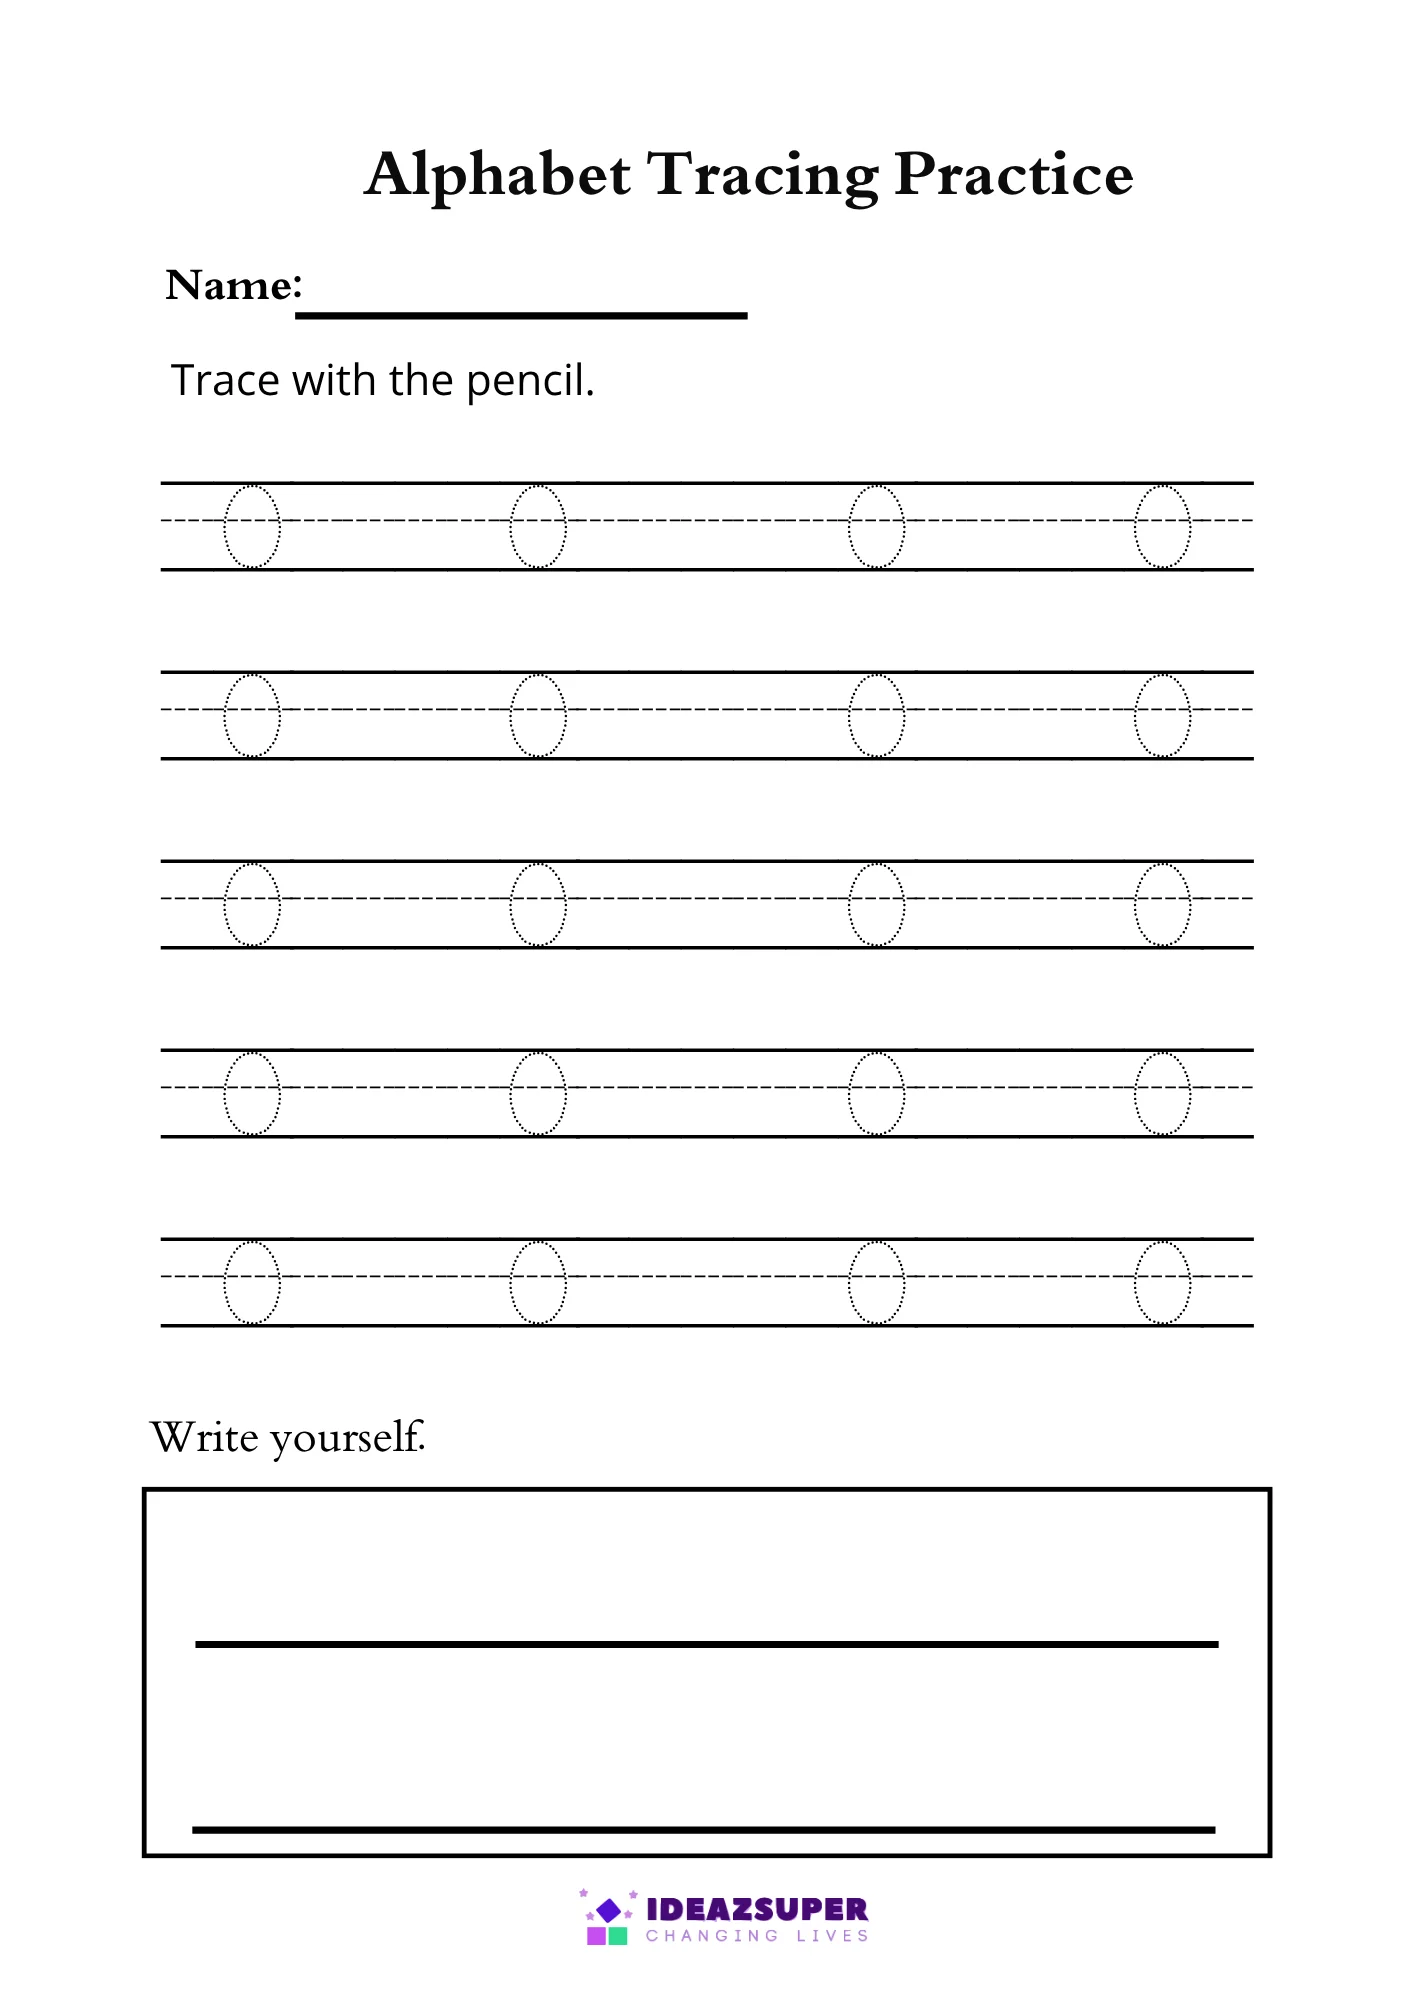
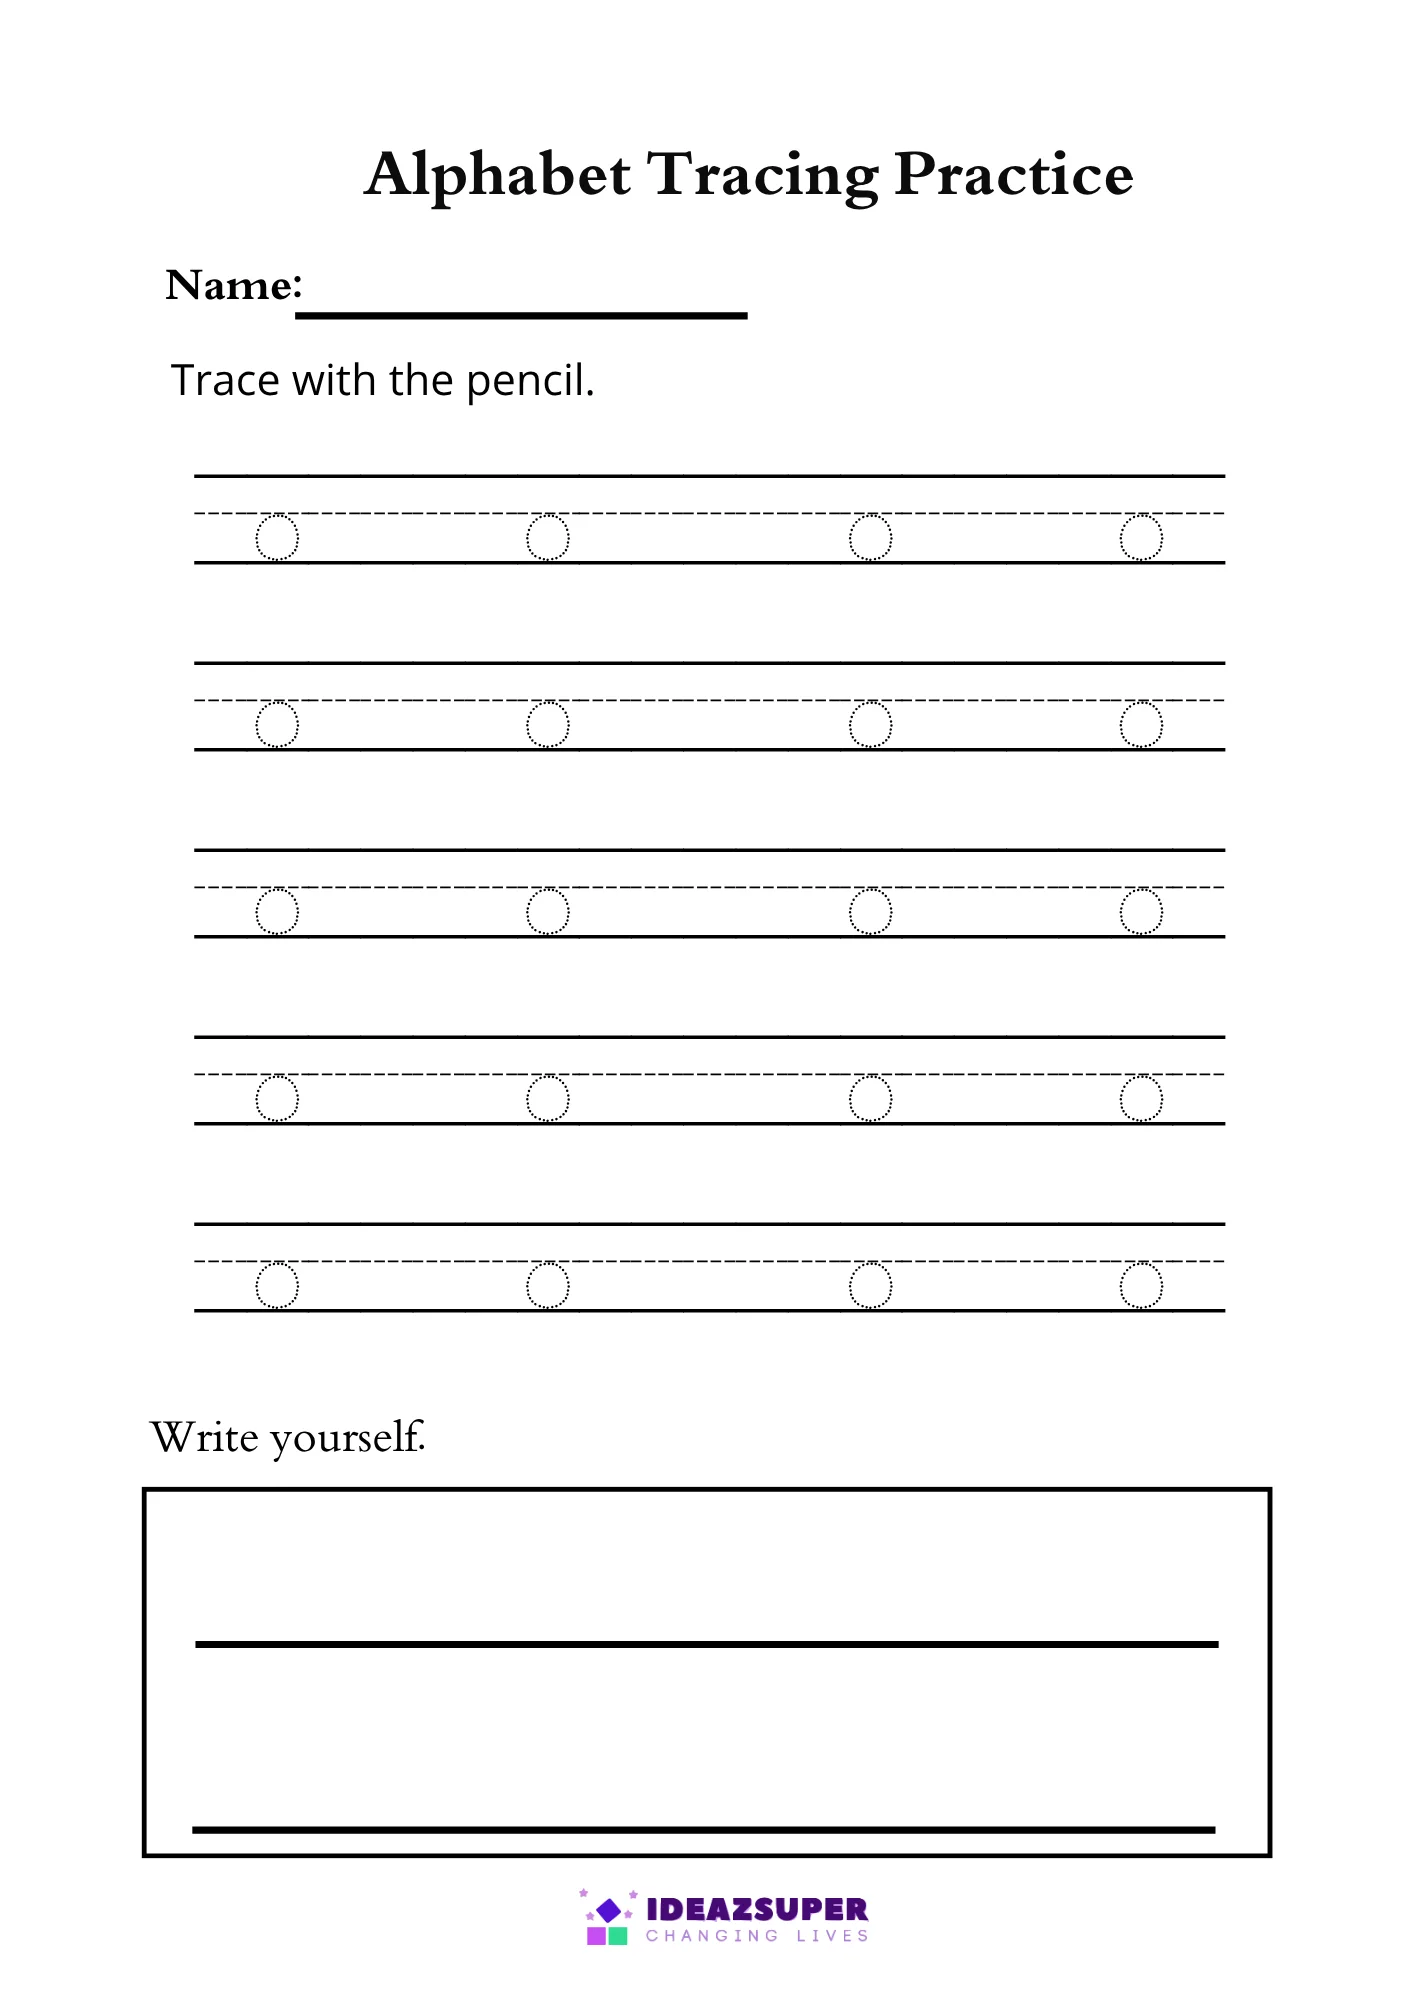
Its round shape is sometimes confused with the number 0, or with Q once Q is introduced. Tracing helps your child build the correct starting point and stroke direction for the letter O before attempting it freehand.
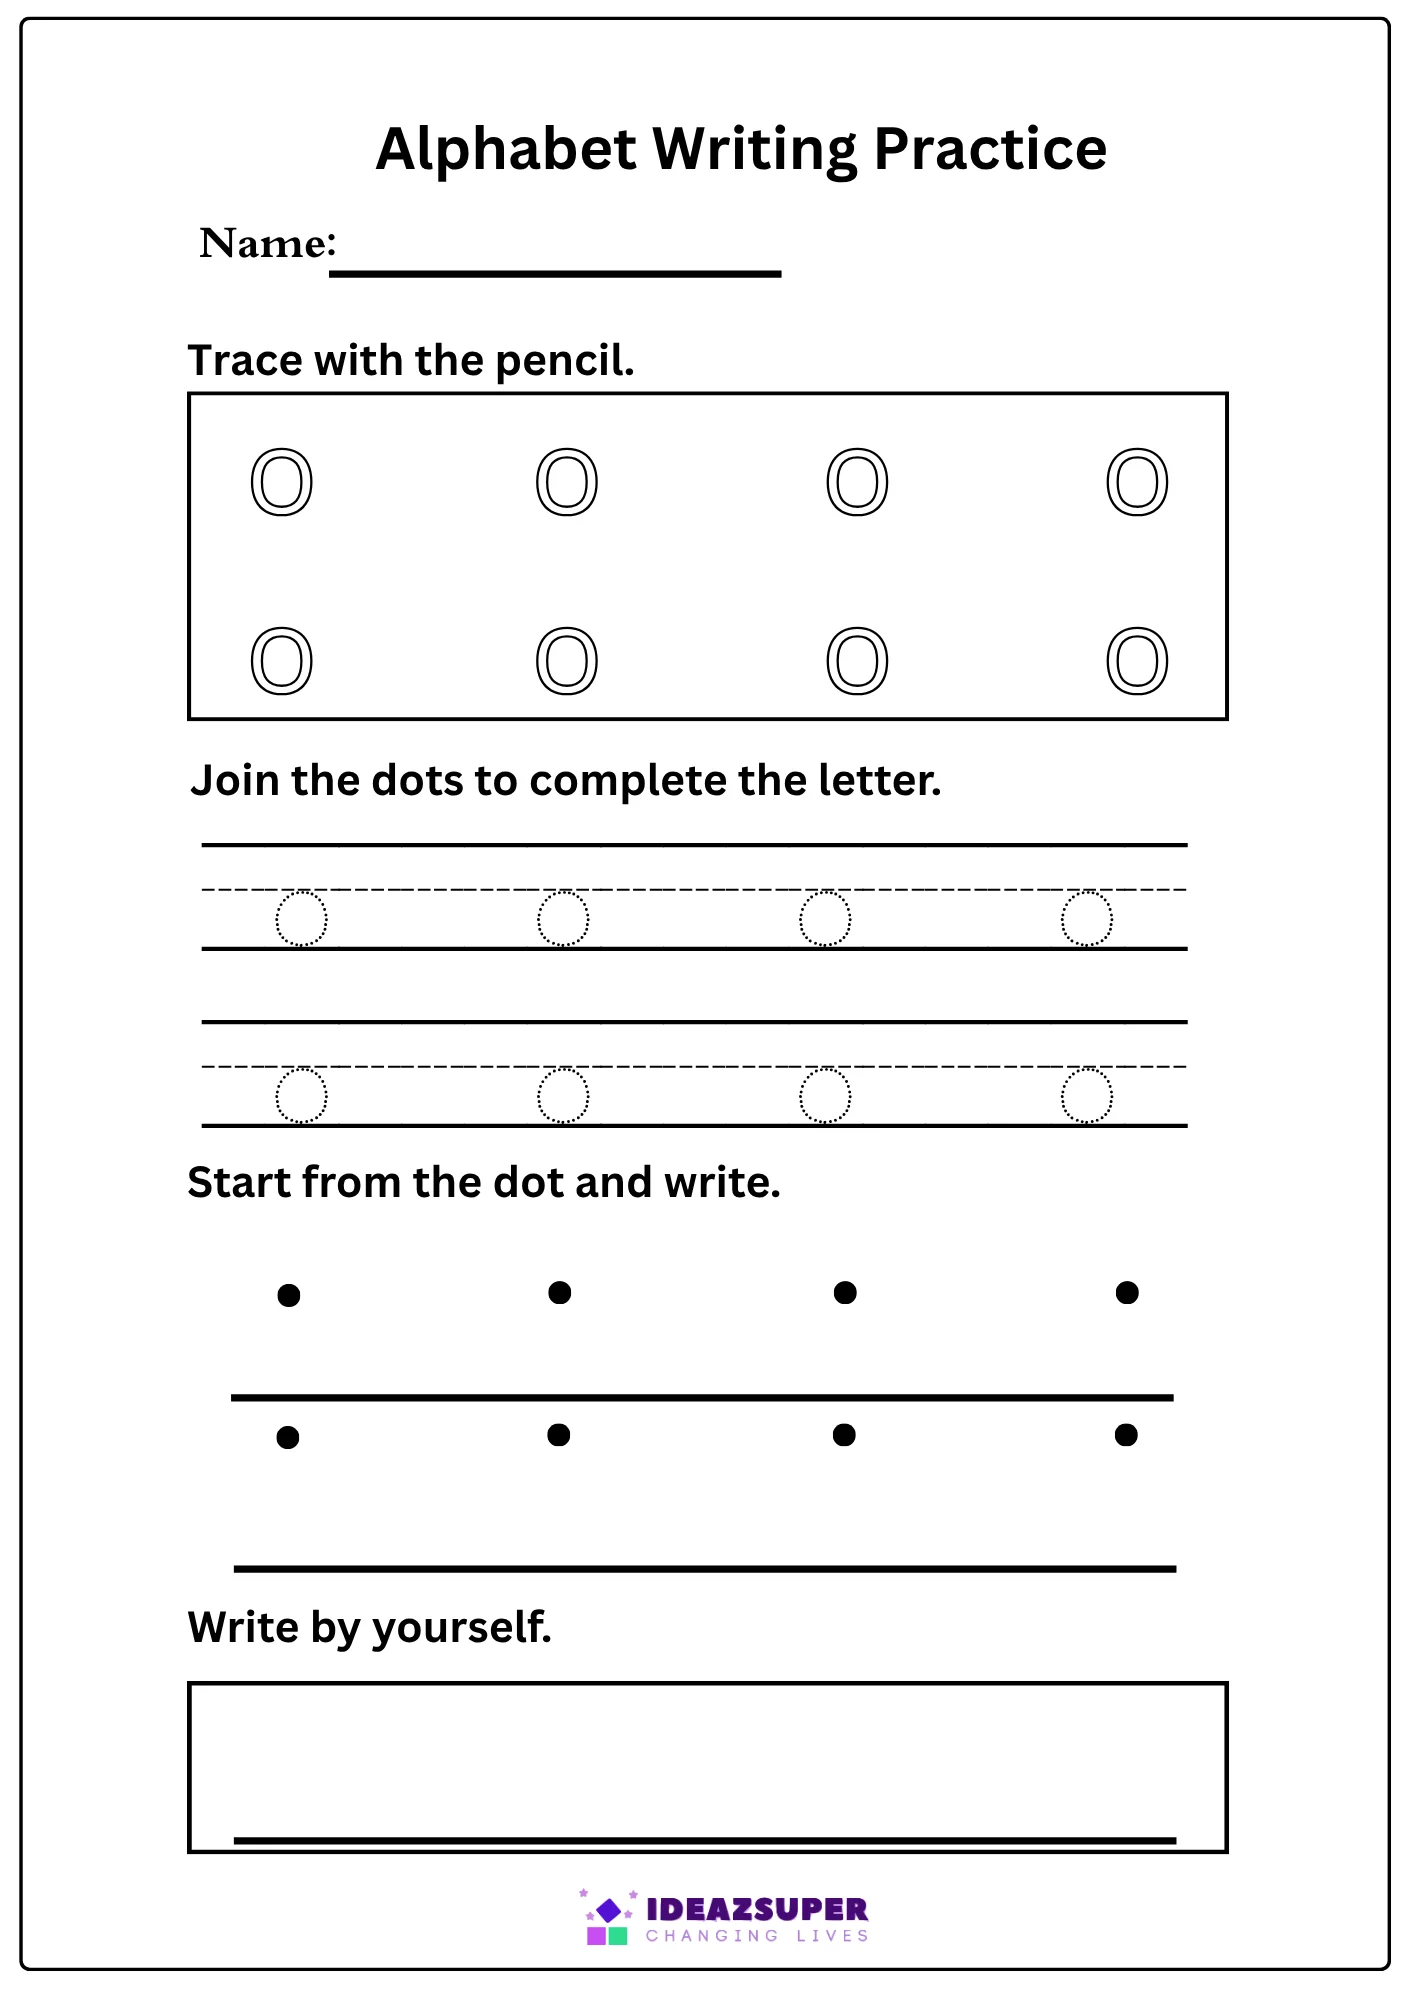
6 Write Independently
No Dotted Guide
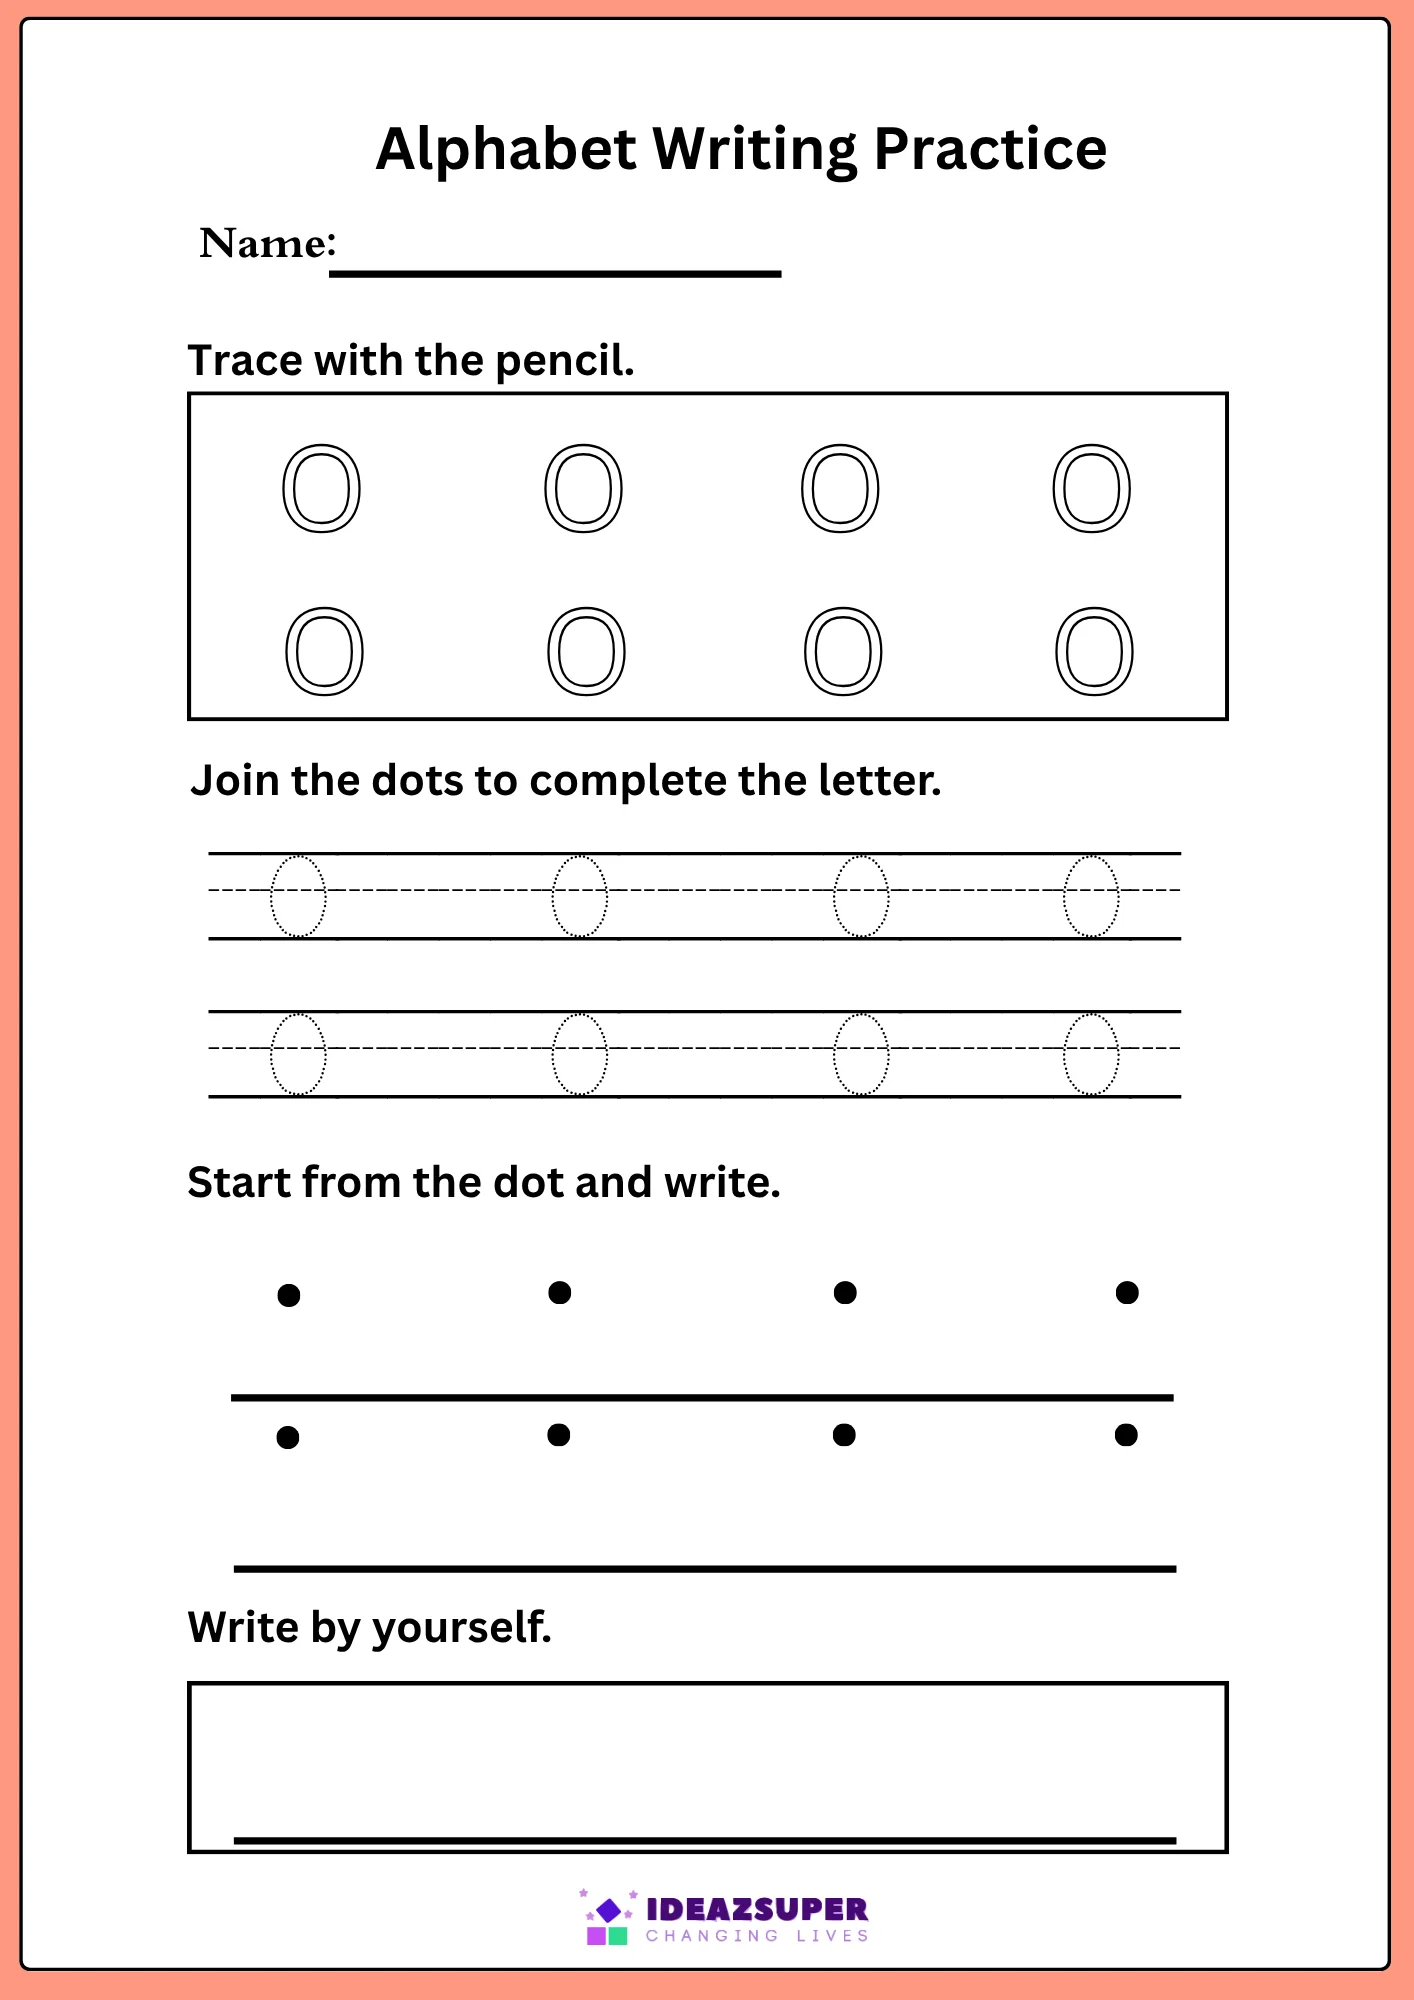
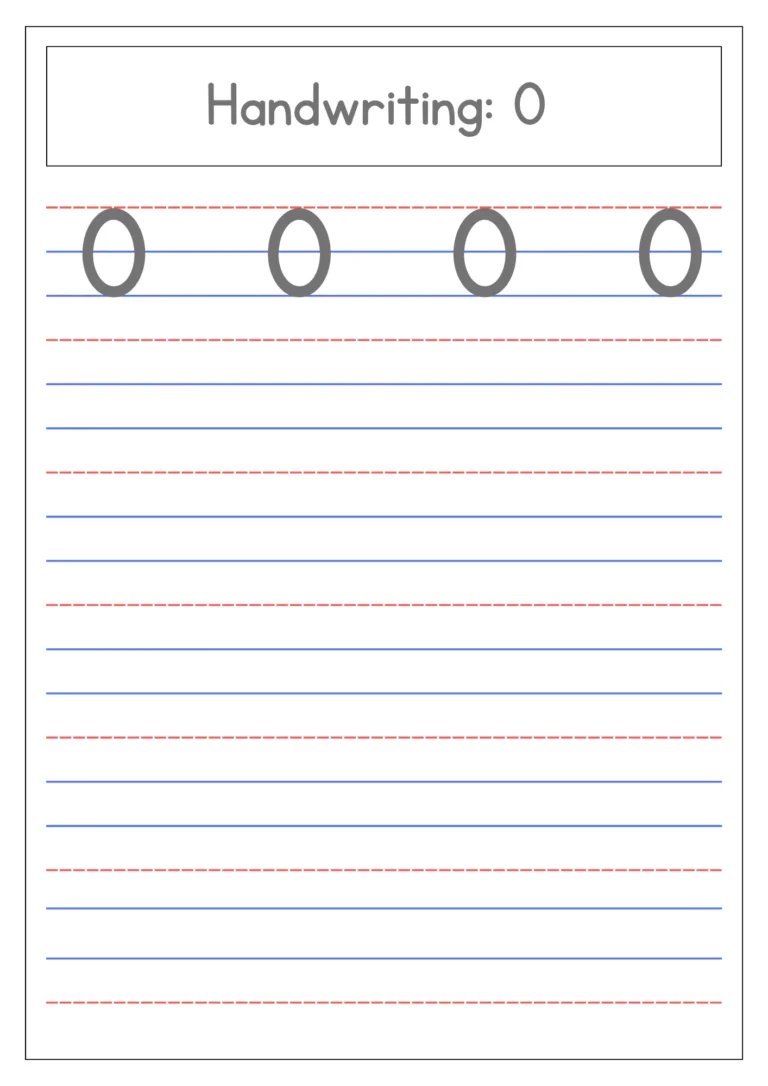
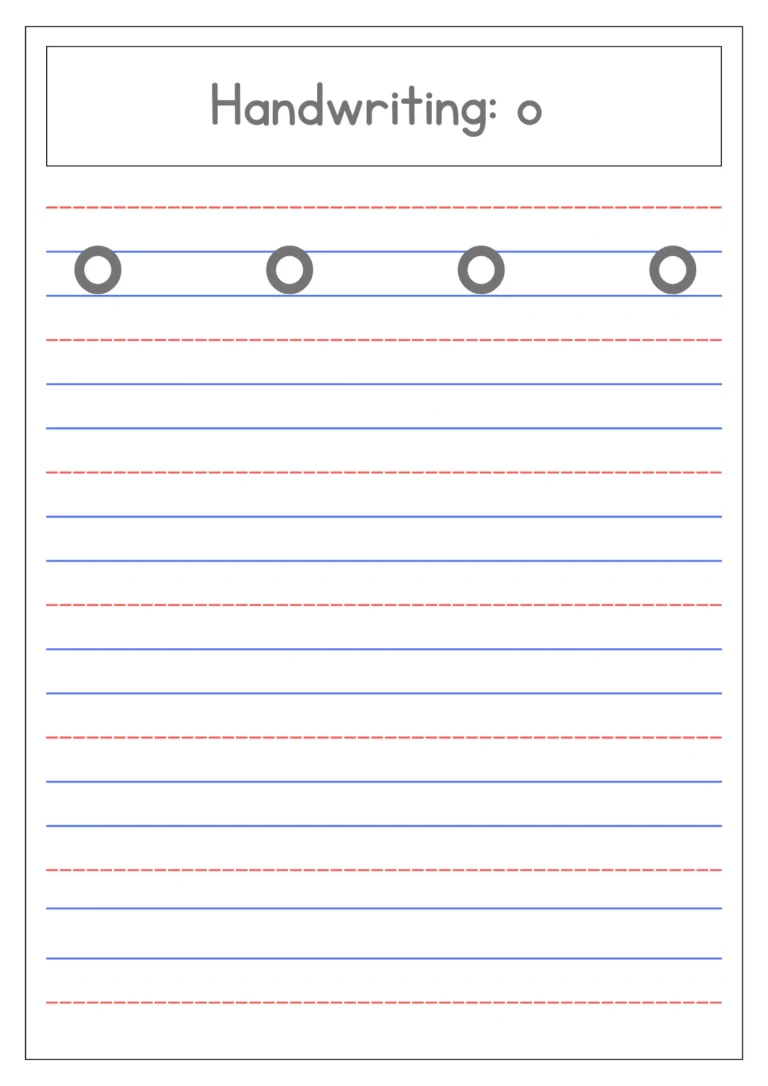
Once tracing feels comfortable, move to writing the letter O without the guide. If it feels tricky at first, that’s a normal early stage — steady practice, not correction, is what builds it into muscle memory.
For extra handwriting practice, see our tracing and writing worksheets.
ℹ️ Only do this once 1–5 are solid
Blending is the payoff step, not a starting point. If your child hasn’t mastered identification and sound yet, come back to this after another week of practice.
7 Check
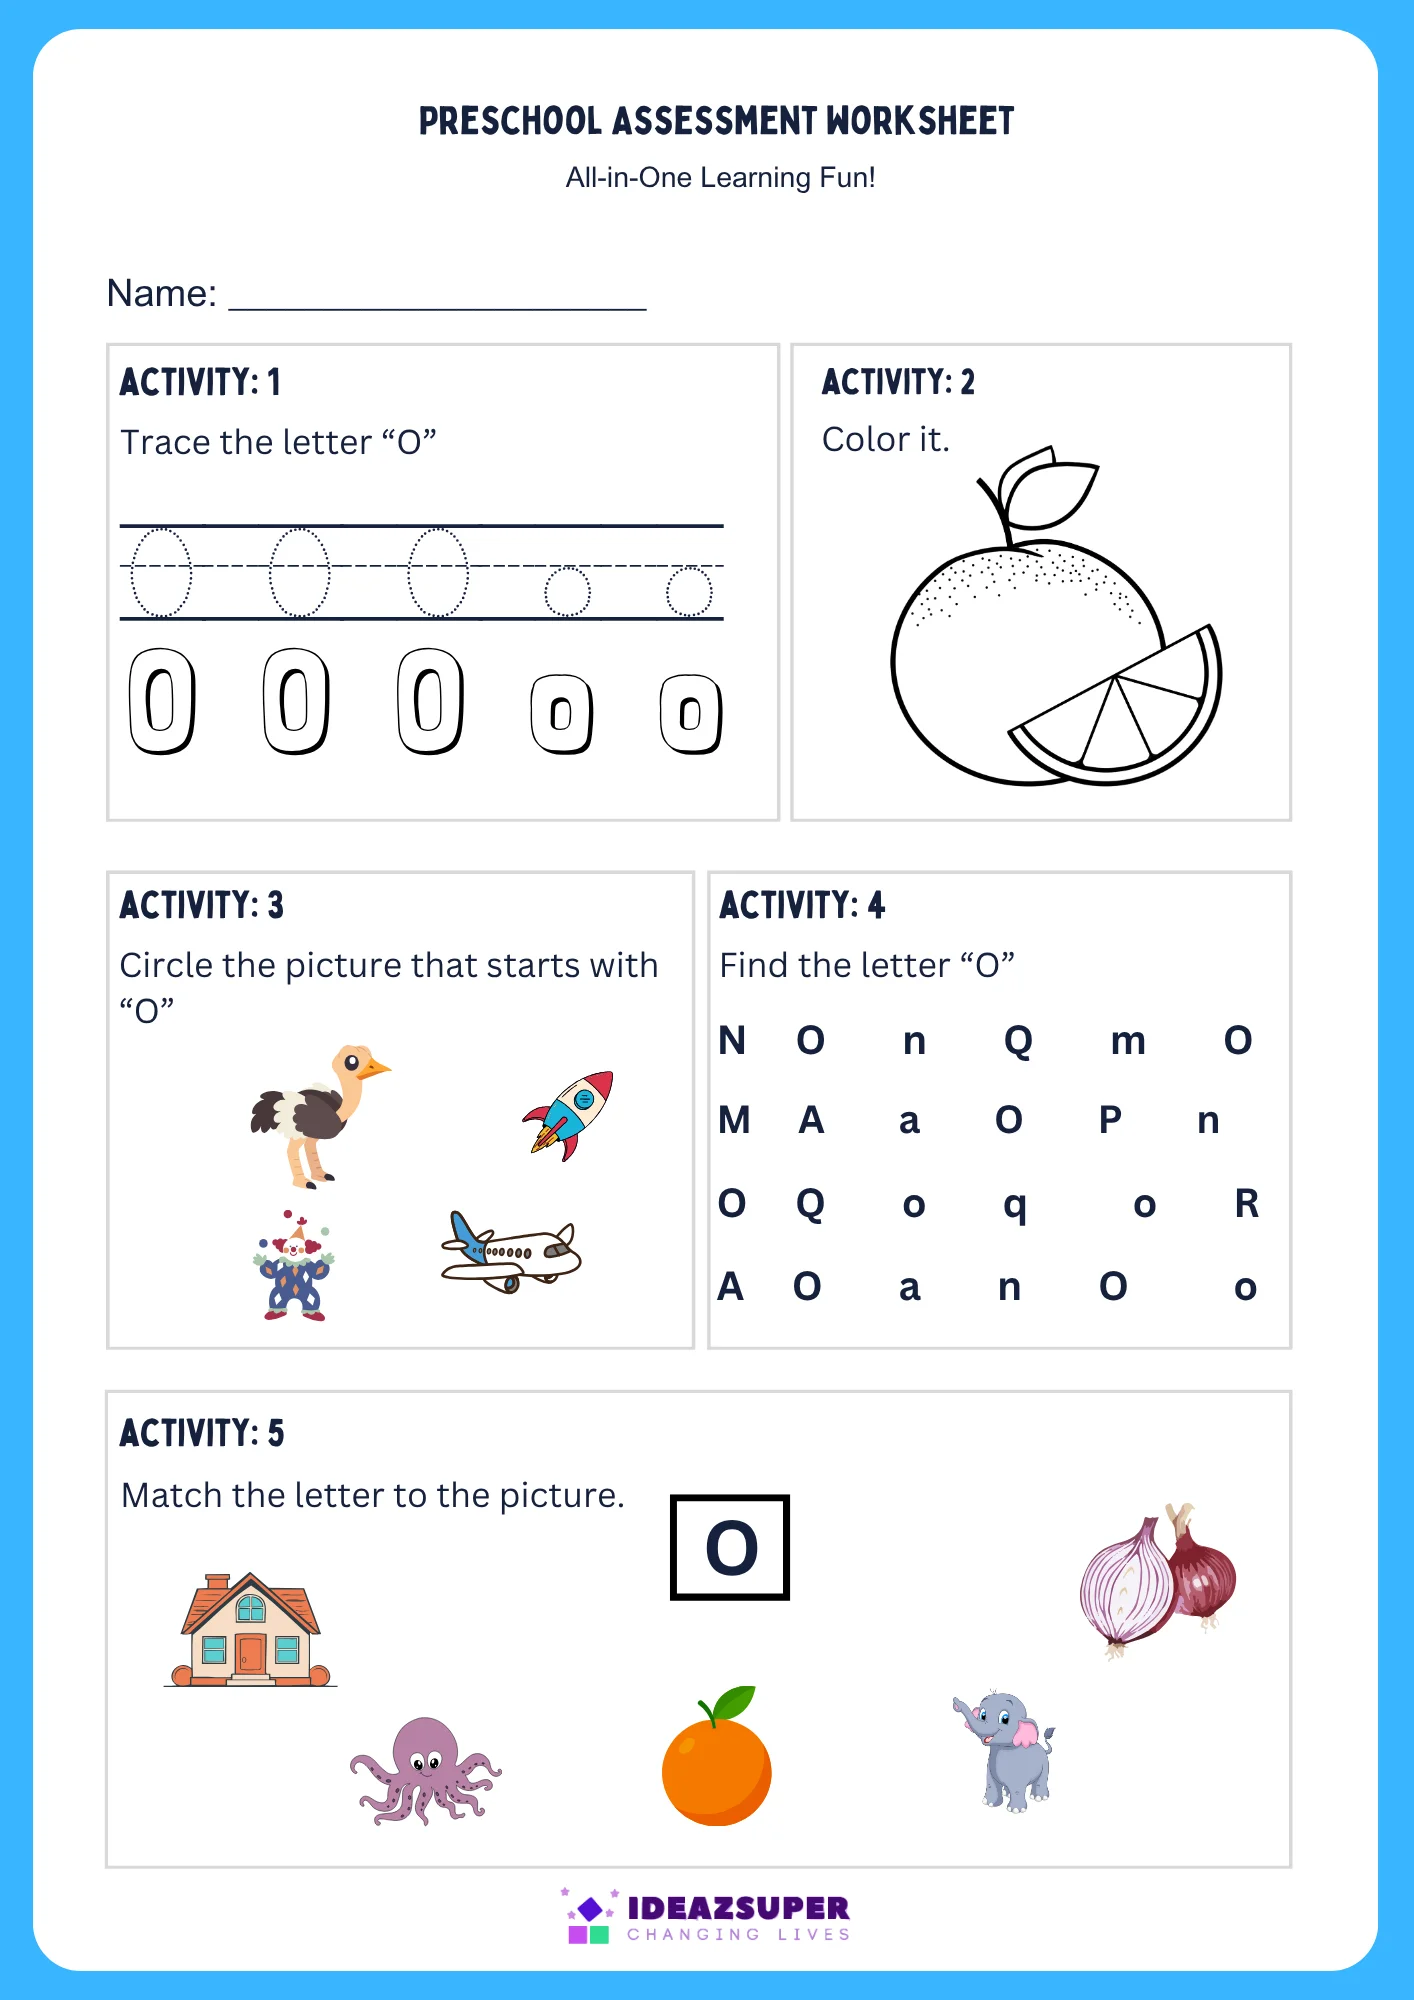
Check — Letter O Assessment
A short, single-page check to confirm F has stuck before moving to letter P. Use this after Steps 1–5 (blending is optional before this check).
For a broader check across several letters, try our English assessment worksheets.
🏆 Celebrate
Letter O Certificate
Once your child passes the check, print this certificate together. It’s a small moment that makes them want to come back for Letter P.
Click here to submit 3 completed worksheets and get a free printable certificate.
What’s next? Move on to the Letter P Learning Path. You can also browse our free English worksheets or see all Learning Paths.
Frequently Asked Questions
Why does my child sometimes write O like the number zero?
Letter O and the number 0 are nearly identical in shape, so mixing them up is very common at this age. Context usually resolves it naturally as your child sees more letters and numbers used separately in reading and counting.
Do I need to complete every step in one sitting?
No — most families spread the seven steps across several short sessions rather than one long one.
How many activities does my child need to finish before getting the certificate?
Complete at least 3 activities from this page, then complete the assessment sheet to earn your certificate.